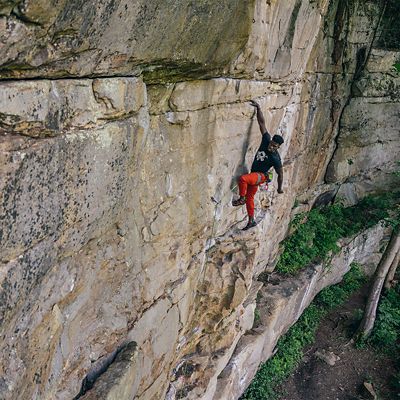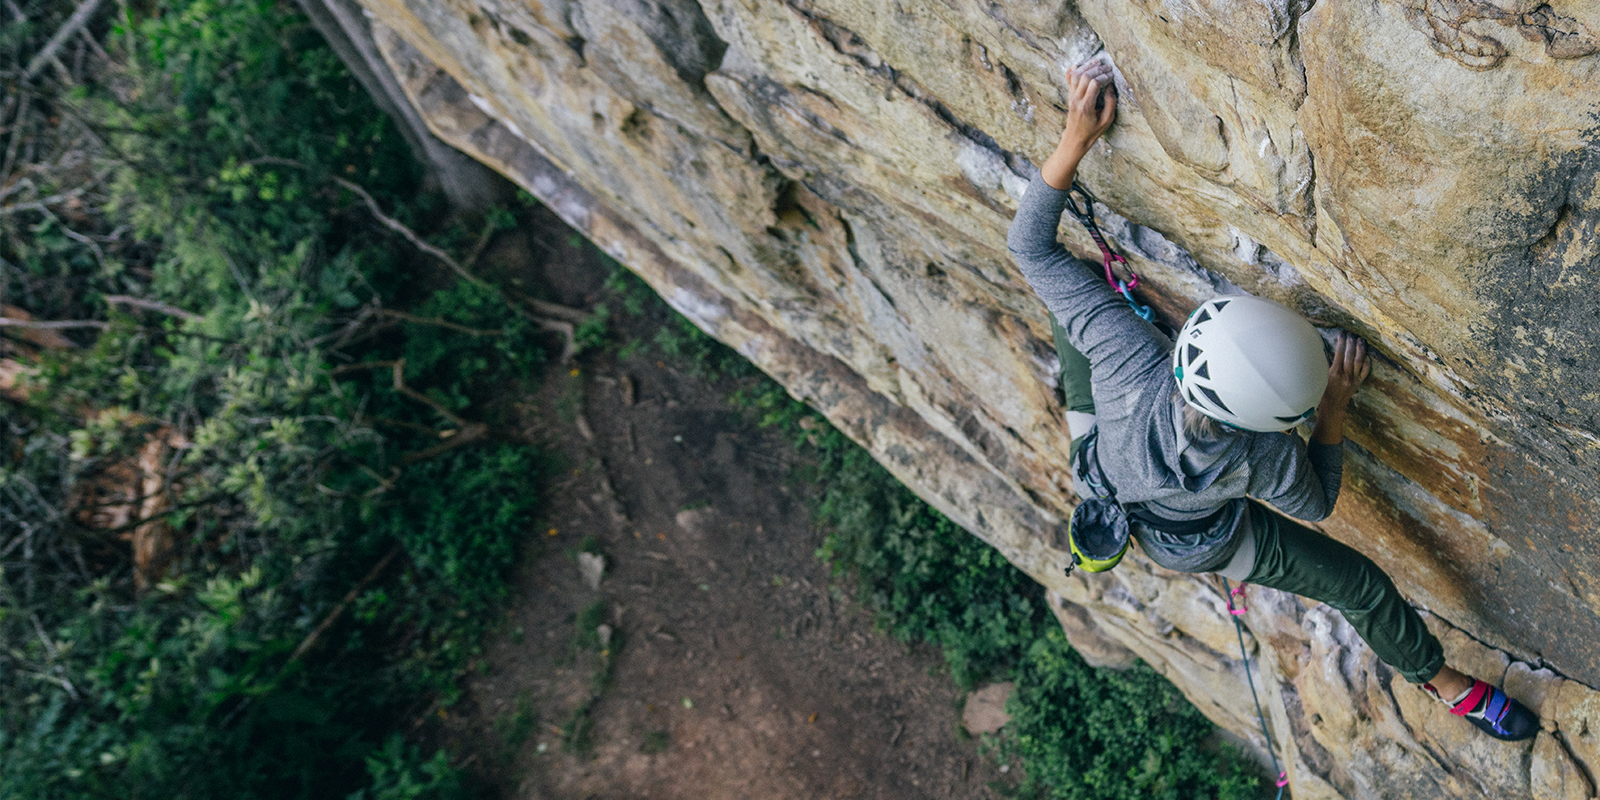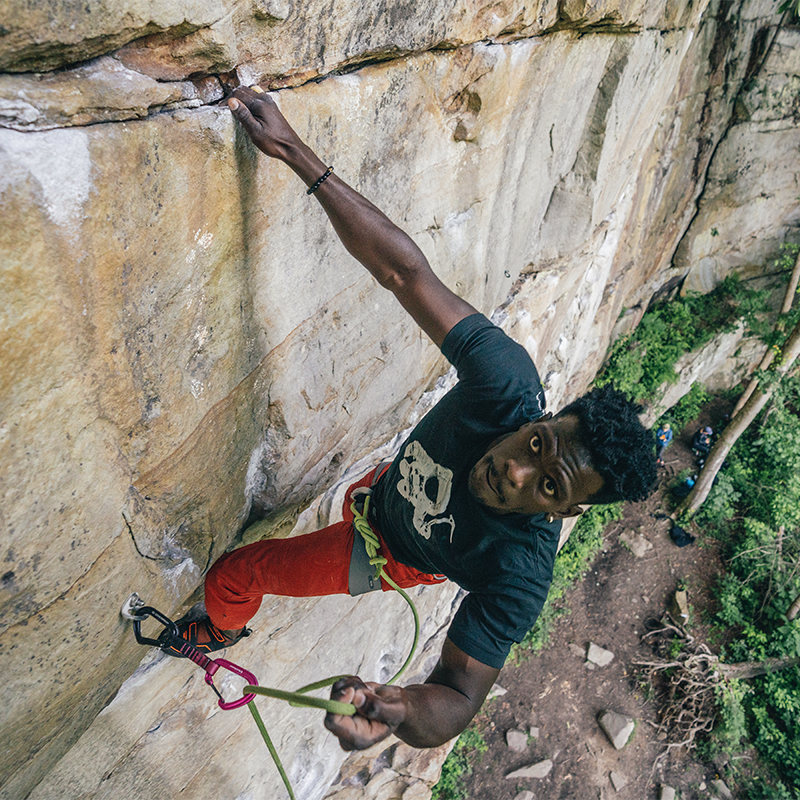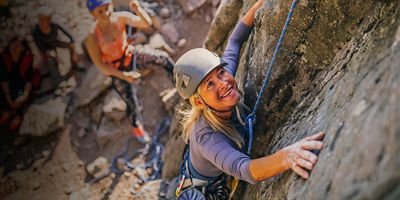
Climbing is all about partnership, and learning how to belay well is essential to supporting your friends and keeping them safe on the wall. It’s also one of the first skills you’ll learn as a climber, so it can be easy to dismiss as elementary. But because proper belaying requires so much attentiveness and skill, it’s an area of constant improvement and lifelong practice for many climbers. That means good belayers are always in high demand. If you can master the basics, you’ll be a sought-after climbing partner anywhere.
If you’re just learning how to belay, you’ve come to the right place. In this guide, we’ll cover the following:
- What is belaying?
- Where can I learn to belay?
- Belay commands
- How to top-rope belay
- Belaying with an ATC or other tube-style device
- How to lower with an ATC
- Belaying with a Gri-gri or other assisted-braking device
- How to lower with a Gri-Gri
What is belaying?
Whenever you climb on a rope, someone has to hold the other end to catch you if you fall. That person is called your “belayer”—they pull in and pay out rope so that if you do fall, there’s not enough slack in the system for you to go very far. Because it would be almost impossible to catch a fall with bare hands (talk about rope burn), belayers rely on an aid called a “belay device” to grip the rope.
Where can I learn to belay?
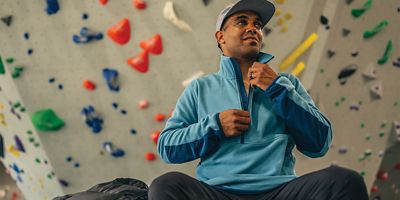
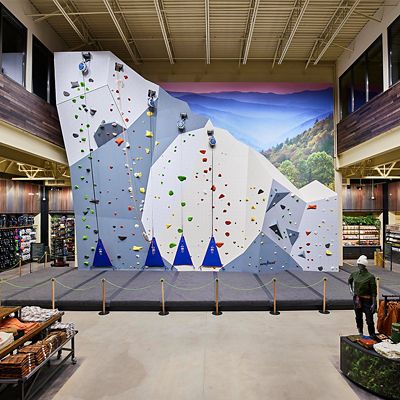
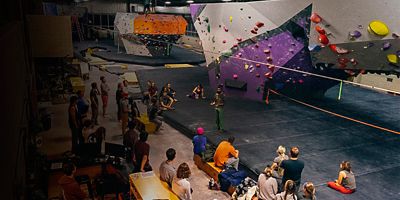
You can learn a lot about belaying online, but there’s no substitute for in-person practice from a certified instructor or climbing guide, or even an experienced friend. Once you think you’ve got the basics down, go to a climbing gym and ask for a top-rope belay test for official confirmation.
When you’re ready to learn how to lead-climb—clipping the rope up the route with you to get it to the top—you’ll need to learn how to lead-belay, which is a bit more involved. Many gyms offer great lead-belay classes as well as lead-belay tests.
Belay commands
Because proper belaying is one of the most critical safety systems in climbing, clear communication is essential to make sure everything is set up correctly. Before climbing, you’ll hear these commands:
Climber: On belay?
Belayer: Belay on.
Climber: Climbing!
Belayer: Climb on!
There are a few variations to the latter part of the routine, i.e. “Rocking!—Rock on!” or “Dude on rock—Rock on, Dude!” But all these scripts do one thing: clearly indicate that both the climber and belayer are ready. That means:
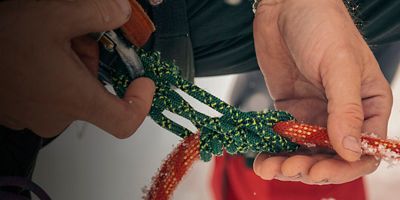
- The climber is properly tied into the rope with a complete knot and at least six inches of tail.
- The belay device is properly loaded with the carabiner locked.
- Both climbers’ harnesses are properly cinched.
- The belayer is attentive and ready to take in or feed out slack as the climber ascends.
Do a quick internet search, and you’ll find numerous stories about climbers, even some of the world's best, forgetting to complete a knot and falling from the tops of their routes. Everyone makes mistakes; the partner check is designed to catch them before anyone gets hurt. (Taking a climbing gym belay test is a great way to make sure you know exactly what to look for.)
Here are a few other common commands you should know as a top-rope belayer (and as a climber):
Uprope! Take in any extra slack; the climber is alerting you that there is a loop of slack by his or her feet, which could cause them to fall farther in case of a slip.
Take! Take in slack immediately; the climber wants tension so they can sit back and hang on the rope.
Falling! The climber is about to fall. Hold the brake strand downward in its braking position, bend your knees, and prepare to catch them.
Watch me! Stay vigilant; the climber is preparing to do a difficult move and wants to make sure you’re paying attention.
Ready to lower! Your climber is sitting back against the rope and is ready to be lowered to the ground.