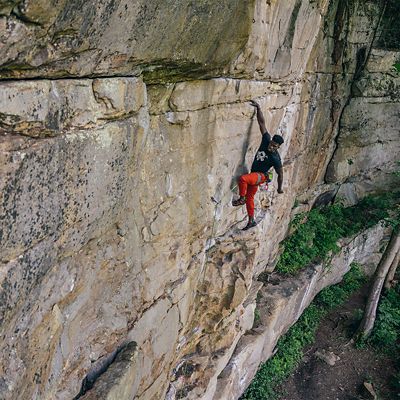
Setting up a top rope anchor is the easiest way to get in a ton of climbing outdoors without having to lead routes from the ground up. It’s one of the first skills you’ll need as you transition from the gym to the crag, and it’s a good one: Learn how to set up a top rope anchor, and the world is your climbing gym. All you’ll need is a few basic materials, an understanding of what makes a safe anchor, and a crag with bolted anchors and easy access from the top of the cliff.
There are dozens of methods for setting up top rope anchors, but we’ll go over three of the most common. Before you start building any of these, make sure to tether yourself securely to two bolts, a thick (live) tree, or another solid anchor point at the top of the cliff so you can tinker with your anchor without risk of falling.
Qualities of a Good Anchor
There are dozens of ways to set up a top rope anchor on two bolts, but they all share the same basic tenets, sometimes referred to by the acronym SERENA or SERENE-A.
- They’re strong enough to hold a fall from a heavy climber.
- They ensure the load is equalized, or equally distributed between both anchor points. In other words, when the anchor is loaded, both sides of it should be pulled equally taut.
- They have redundant elements in case one bolt or piece of cord fails.
- They’re simple, efficient to set up, and easy to double-check.
- There’s no extension or sudden shock-loading if one element fails.
- The anchor’s “legs” (the lengths of material clipped to each bolt) should form an angle that’s less than 60 degrees, which minimizes the load on the bolts.
The Quad
The quad is a favorite of recreational climbers and guides alike because it’s sturdy and easy to set up. It’s also self-equalizing, which means the carabiner can slide from left to right within the anchor, making sure the load is always evenly distributed between both anchor points.
You’ll need:
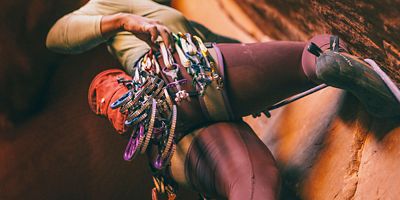
- 25 feet of 7 mm cordelette tied into a loop with double-fisherman’s knots
- Four locking carabiners
The setup:
- Clip a locking carabiner to your first anchor point.
- Take the loop of cordelette off your harness and double it over.
- Clip one end of your doubled-over loop to the hanging carabiner. Lock the carabiner.
- Pull the strands of the cordelette loop until they’re even and the double-fisherman’s knot is just an inch or two from the locking carabiner.
- Tie an overhand knot in your doubled-over loop, about one-third of the distance from the locking carabiner.
- Tie a second overhand knot about a third of the distance from the first.
- Clip the far end of your doubled-over loop to the second anchor point with a second locking carabiner. Lock it.
- Now your knots should be even, and the section between them should be hanging down between your bolts. Grab this center section and clip your remaining two locking carabiners through three strands of the rope. (They should be “opposite and opposed”—clip one on from the right and one on from the left, so that when the carabiners are both hanging from their narrow ends, their gates are on opposite sides.)
- Clip the center of your rope through these carabiners, lock them, and toss down the ends of the rope. (Always check for climbers below and yell “Rope!” before throwing.)
- Lower, rappel, or hike to the bottom of the cliff to begin climbing.
Expert tips:
- If your bolts are staggered with one slightly above the other, tie the overhand knots closer to the lower bolt. When the anchor is weighted, the two overhand knots should be even with one another.
- You can also use a quadruple-length (96-inch) Dyneema or Dynex sling as a more svelte alternative to a cordelette.