Best Fall Foliage Hikes in Charlottesville
Western Virginia’s fall foliage is second to none. Here’s where to see it.
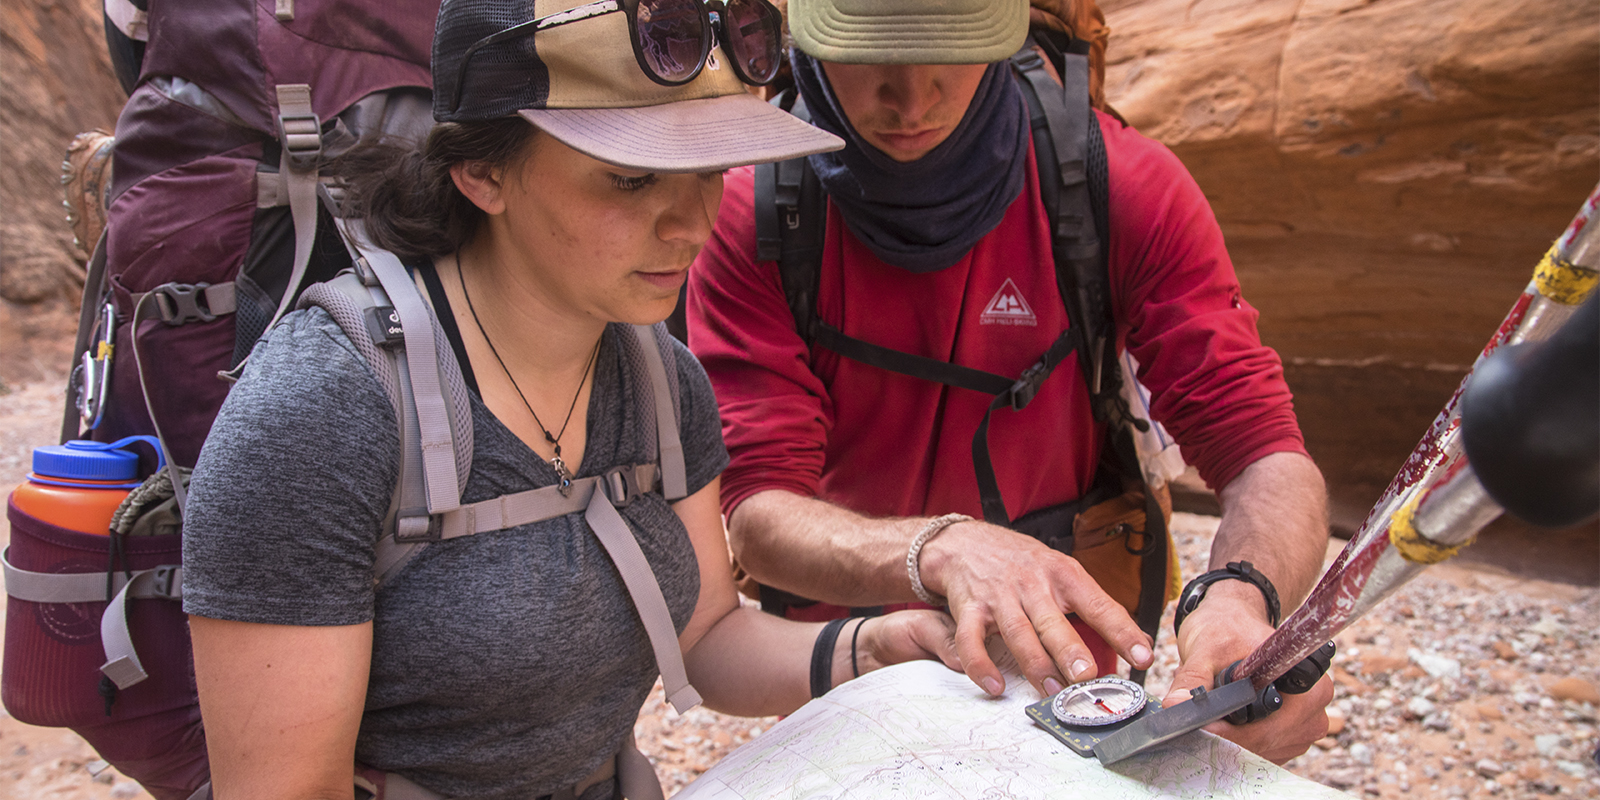
A first-aid kit is part of the National Park Services’ 10 Essentials, and for good reason—you want to have medical supplies on hand in case of illness or injury when you’re far from a doctor’s office. But even a well-stocked kit won’t do you much good if you don’t know how to use what’s inside. Here are the first-aid skills you’ll need to treat five common backcountry injuries.
In this article, you’ll learn how to treat:
Perhaps the most common hiking issue, blisters form when there’s too much friction between your skin and something else—usually, your shoe or boot. They’re not serious injuries, but anyone who’s had a bad one can attest that they can make walking very painful.
First aid: The best defense is to nip blisters in the bud by stopping as soon as you feel a “hot spot,” or uncomfortable rubbing. Cover the area with moleskin, duct tape, or medical tape to prevent further abrasion. If you already have a blister, clean the area with soap and water or an antibiotic wipe, then carefully pop it with a sterilized safety pin or knife (better than letting it pop in your sock on its own). Smear some antibiotic cream on it, then cover it with an O-shaped piece of moleskin, placing the hole over the blister itself. Tape it in place with medical or duct tape.
Whether it came from a slip of the knife while cutting cheese for dinner or an accidental brush against a sharp rock or branch, a cut can be painful and messy. When treating, you’ll need to stop the bleeding and prevent infection.
First aid: Clean the wound by irrigating it with a syringe from your first-aid kit, a water reservoir hose, or the corner of a zip-top bag. If it’s still bleeding, apply pressure with a sterile gauze pad and elevate the area until it stops. Apply antibiotic cream to the wound, then dress with another sterile gauze pad. Tape in place; replace bandage several times a day. Watch it for signs of infection, such as red streaks emanating from the wound, swelling, pus, or general redness. If they appear, hike out and seek medical care.
These hiking maladies occur most often on the ankle, when ligaments and tendons are injured by an unlucky step or roll. Suspect one if the ankle is swollen, painful, and difficult to move, and/or you heard a popping sound.
First aid: Reduce swelling right away by applying cold for about 20 minutes. At home, you’d ice it. In the backcountry, soak the ankle in a cold river or apply snow wrapped in clothing or stuffed in a zip-top bag (place a wet cloth on it if there’s nothing colder around). Next, add compression by wrapping the ankle with an elastic bandage from your kit (make sure it’s not too tight by checking circulation in the toes). Elevate the ankle during breaks to further reduce swelling. Seek medical attention if the ankle hurts too much to continue hiking.
Cookstoves, campfires, and scalding water can all deliver a nasty burn. We’ll cover first-degree burns here, which affect only the outer layer of skin. A more severe burn (second-degree or full-thickness) affects deeper layers of skin and might include blisters, red and mottled skin, or charred and leathery skin. Burns to the face, neck, hands, feet, groin, and armpits should also be taken seriously. These burns are dangerous and require medical attention ASAP.
First aid: Cool and clean the area by pouring cool water over it or applying cool, wet cloth. Cover the burn with antibiotic ointment and apply a sterile gauze pad and tape to bandage it. Change the bandage regularly and watch for signs of infection.
A bone fracture while hiking is often the result of a fall and might affect the wrist, ankle, or leg. The symptoms are similar to sprains: pain, swelling, and difficulty moving the area. Broken bones should be treated in the field, then evacuated for medical care ASAP.
First aid: Immobilize the injury to prevent further damage. Make a splint: Use the SAM splint in your first-aid kit, or improvise one with tent poles or even sticks. Place the splint so it stabilizes the joints above and below the fracture. Tie the splint around the limb above and below the injury. Someone with a broken arm or wrist might be able to hike out, but a hiker with a broken leg might not. In that case, call for emergency help (this is where personal locator beacons and satellite messengers come in handy if your cell phone doesn’t have coverage) or send someone else to get it.
Taking an outdoor first-aid course is an excellent idea for anyone who spends time in the backcountry. Wilderness first aid (WFA) courses usually last a couple of days, provide a solid basis in skills, and are put on by several different groups, including the National Outdoor Leadership School (NOLS), the American Red Cross, and various wilderness medicine outfits. Wilderness First Responder (WFR) courses offer more advanced training that lasts about 10 days and prepares you to handle just about anything. Both types of courses earn you certification.
All articles are for general informational purposes. Each individual’s needs, preferences, goals and abilities may vary. Be sure to obtain all appropriate training, expert supervision and/or medical advice before engaging in strenuous or potentially hazardous activity.