5 Top National Parks for Fishing
These five parks are best viewed from the water’s edge.
When the weather starts to turn, the fun of hanging out with your feet in a stream can start to fade. But the end of one fishing season only means that the next is coming: It’s time to prepare by loading up your fly box with a pile of homemade bugs. Fly tying is a relaxing way to spend your winters or evenings, keeping your fishing passion alive when you can’t actually be tossing flies or swinging a rod. It’s a fun, effective way to practice your skills identifying fish food (known to most as flies). And, surprisingly, it doesn’t take much to get going and start filling your fly boxes with homemade critters.
The vise is your workstation as a fly tyer. It holds your hook and fly stationary while you work on it, in whatever orientation you need. All vises serve the same purpose, so start with a more budget-friendly version and upgrade down the road as you identify additional features that you want. Look for one that can accommodate the size hooks you plan to tie with. Choose either a pedestal-style vise (which simply sits on top of your table or desk) or a C-clamp-style vise (which clamps to a table or desk surface).
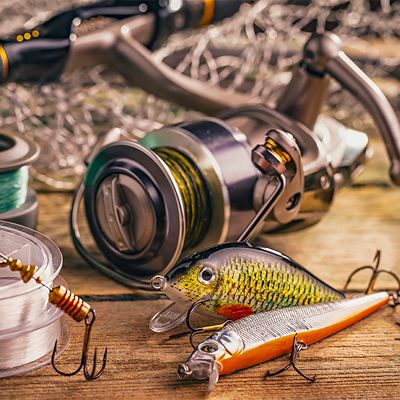
Though a few everyday fly-fishing tools (like scissors or tweezers) can help you start tying, you’ll need a handful of essentials for specific tying tasks. Don’t worry: Like the vise, you can splurge for top-dollar options, or cover yourself with the basics and upgrade later. But consider making a list and picking up at least some version of all of these:
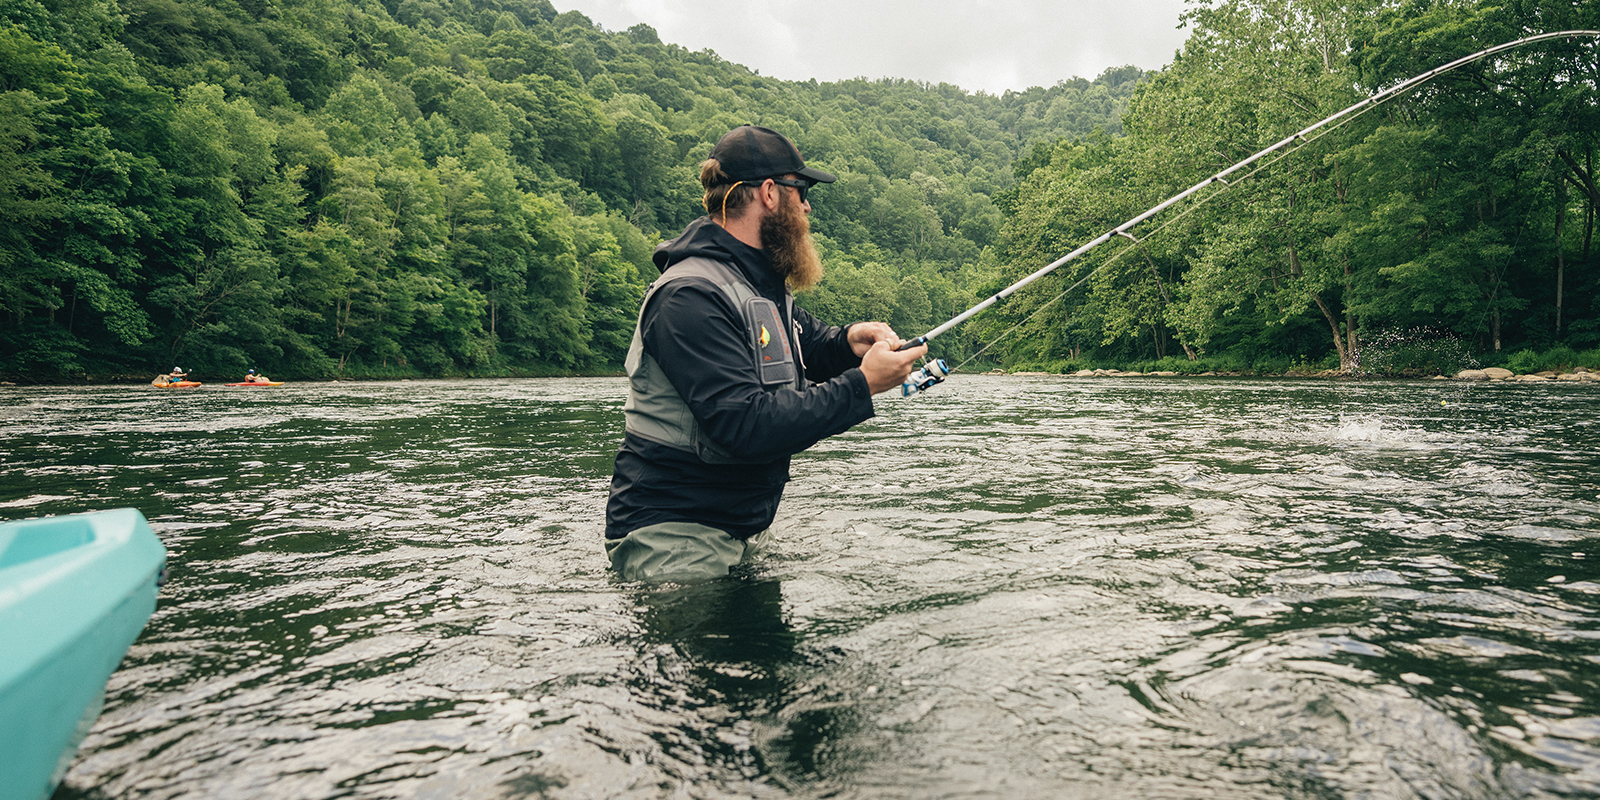
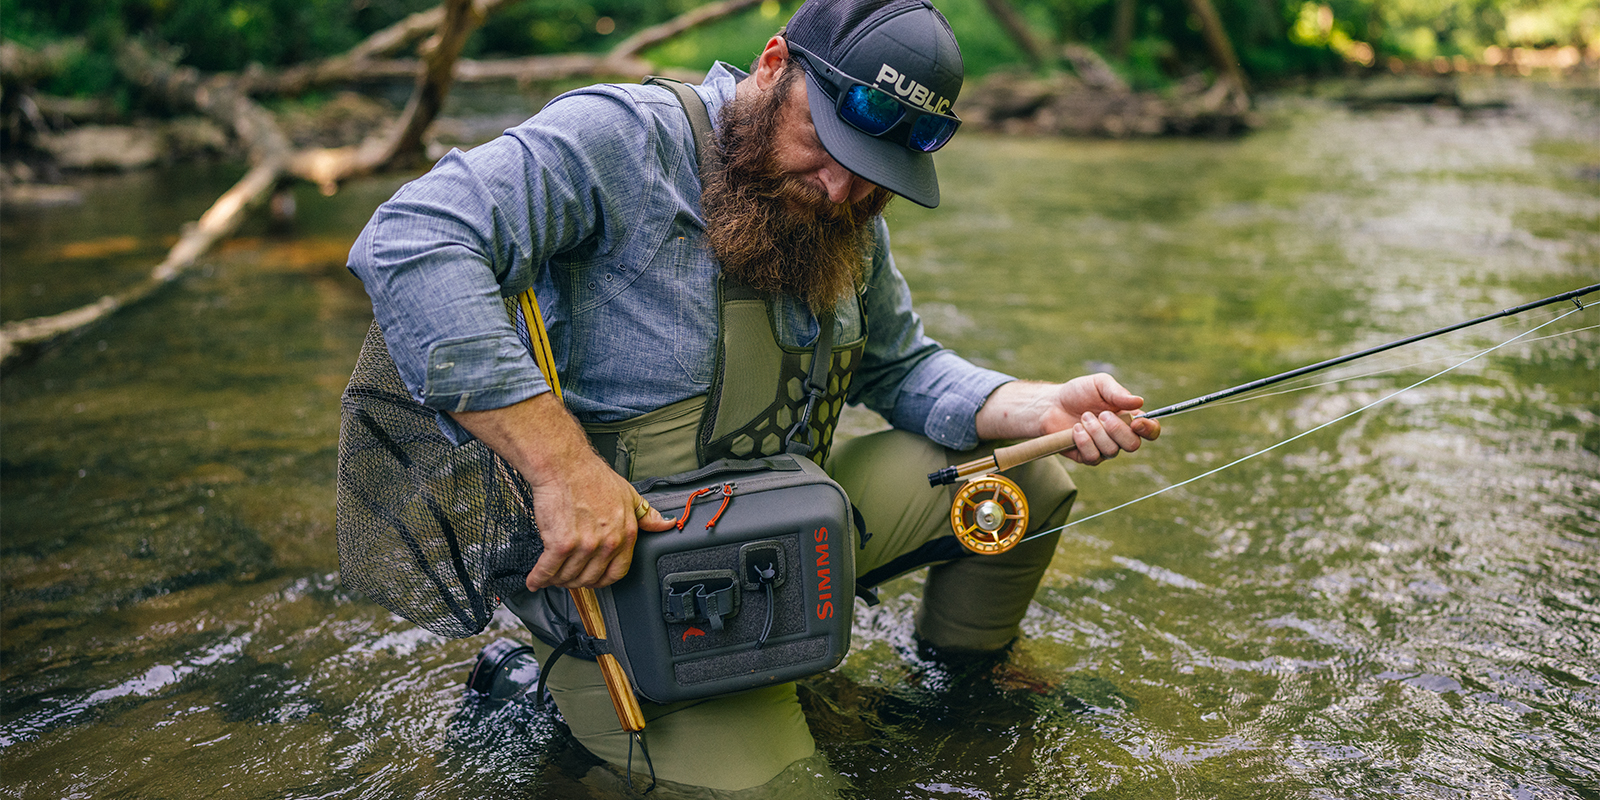
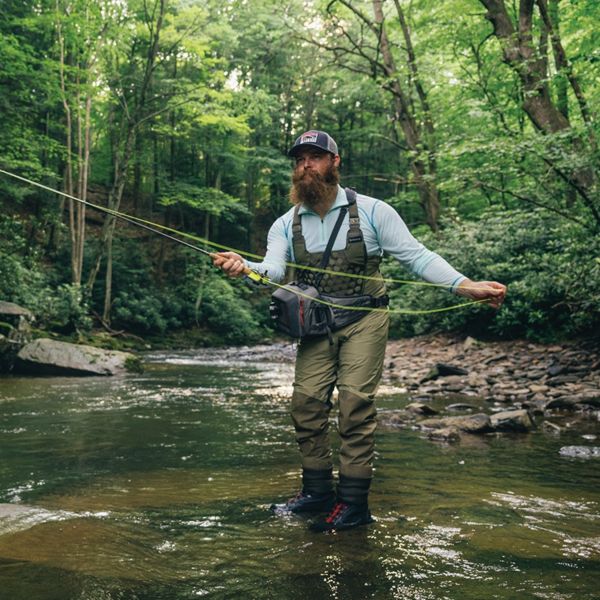
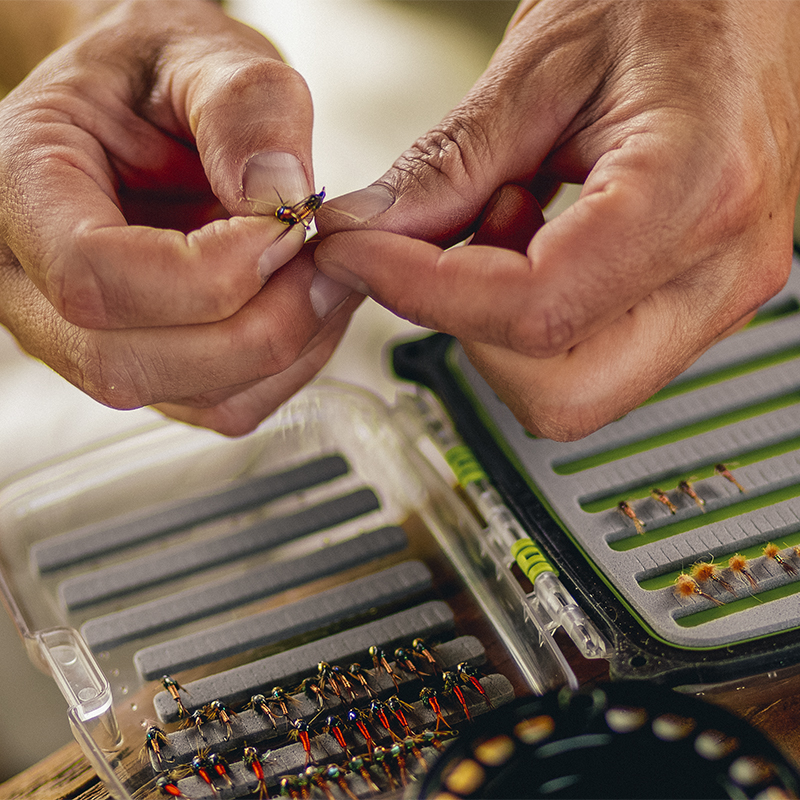 Photo: Stephen Matera/TandemStock
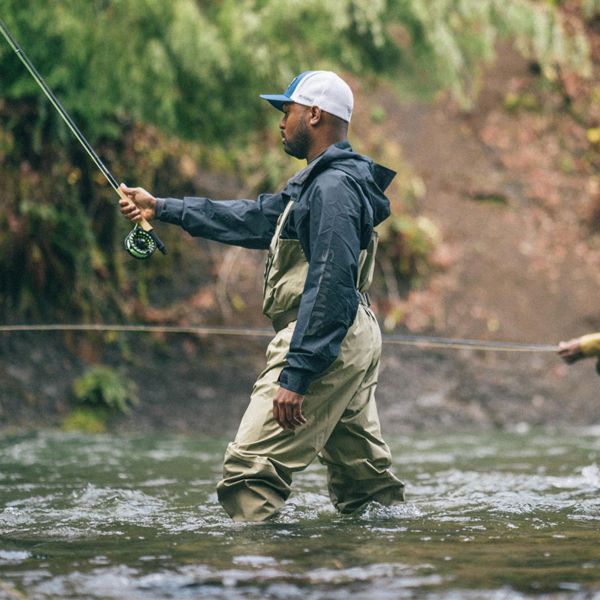
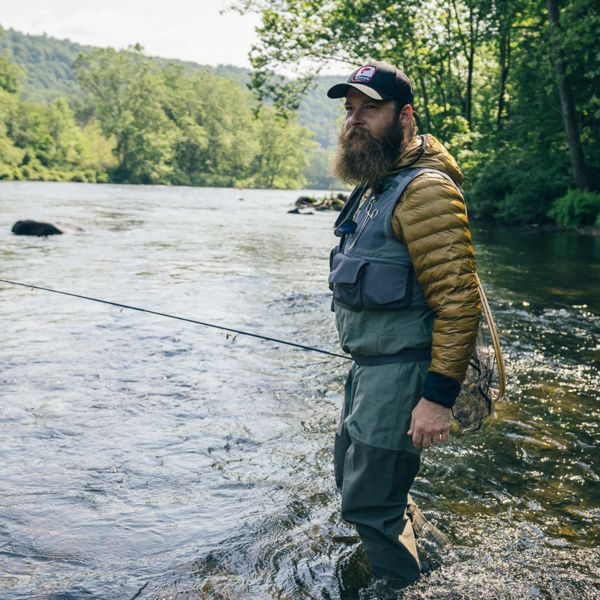
Start by picking a simple fly that you fish a lot (and consequently lose a lot). Consider Wooly Buggers, Elk Hair Caddis, or Hare’s Ears. Do some research and pick up the materials that go into the fly you pick—most tying guides or videos list these as clearly as ingredients in a dinner recipe.
There are a handful of knots and skills that you’ll have to use in nearly every fly you tie: The jam knot, which attaches the thread to the hook; the pinch wrap, which helps you attach more material to the hook; and the whip finish, which secures the loose end of your thread to the hook before you clip it off and finish.
Hold your thread behind the hook just below the eye. Use your bobbin to wrap around the tag end of your thread, capturing it up against the hook, working away from the eye with your bobbin and thread. Wrap until the tag-end is trapped and won’t go anywhere. Trim it away!
Position the material as you would on the hook: pinching it between your thumb, the hook, and your forefinger. Take your bobbin and thread, then wrap it around the material and hook. Alternate pulling either your thumb or forefinger slightly out of the way until you have roughly three wraps around the material and hook.
Grab your whip finish tool. Holding it steady (the head rotates), hook some thread on the end of the wire tool. Take more thread from your bobbin, and wrap it around the notch at the bottom of the tool’s head. Now release the head to roll it over. Inverted, the threads should cross to make an upside-down Number 4 below the fly. Rotate the entire tool around the hook, allowing the thread to trap itself along the shank. Make five wraps then remove the thread from the tool’s notch, keeping it on the whip finisher’s hook. Pull the thread from your bobbin until you’ve pulled the tool against the hook, remove the tool and pull the thread tight.
All articles are for general informational purposes. Each individual’s needs, preferences, goals and abilities may vary. Be sure to obtain all appropriate training, expert supervision and/or medical advice before engaging in strenuous or potentially hazardous activity.