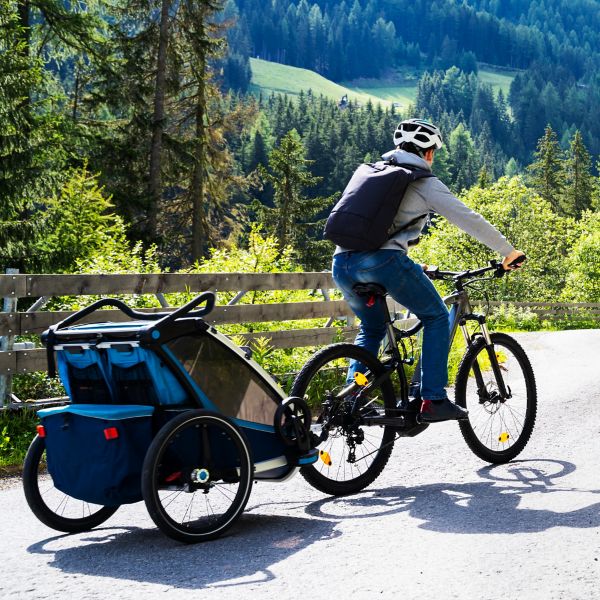
How To Choose the Best Bike Trailer
Adapt your steed for toting gear, groceries, kiddos, and more.
Nothing can interrupt a great bike ride quite like the harsh hiss of a deflating tire. While it’s never a good idea to ride your bike with a flat (that will cause serious damage to your rim), it doesn’t have to mean the end of your ride. Replacing a flat tire can be quick and easy if you have the right tools and you know the necessary steps. Here’s how to do it.
Bring these on your next ride and you’ll be prepared to change a tire no matter where you are.
A pair will help get your tire off your rim. Opt for plastic levers instead of metal ones to avoid damaging your rims.
You’ll need a portable pump to refill your tube after fixing your flat. Some riders opt for CO2 cartridges and an inflator instead—they’re lighter and more portable than a pump. Just remember that a cartridge only works once.
You’ll need to replace your punctured tube with a new one or repair it so it holds air again. Make sure that if you purchase a spare tube, it matches your wheel and tire size.
To fix a flat, you’ll need to remove the wheel. If your wheels are held on with quick-release skewers, you won’t need a tool, but if they use thru-axles, you’ll need an Allen wrench (or possibly another wrench) to remove them. Check your wheels and grab the wrench you need.
If you get a flat, pull over to a safe area and get off your bike to start the fix.
Begin by unscrewing the axle, quick release, or bolt that attaches it to your bike. If you have rim brakes, look for a lever on the brakes that will release tension on the brake cable and allow the calipers to spread apart so you can remove the tire. If you have disc brakes, be careful to not pull the brake lever once your tire is removed as this can cause the brake pads to stick together.
With the tire fully deflated, insert the sloped end of one tire lever between the inside edge of the tire and the rim. Use the lever to push up on the tire and separate the “bead” (the innermost edge of the tire) from the rim. Attach the other side of the lever to a spoke to hold it in place. Insert a second tire lever between the tire and the rim a few inches from the first. Slowly move the lever around the rim to detach one side of your tire from the rim completely. Repeat the process to remove the other side of the tire from your rim.
Pull your deflated tube out of the tire. If you have Presta valves, you’ll need to unscrew the collar at the base of the valve before you can pull it through the rim. Inspect your tube to see if you can find the hole. Run your finger through the inside of the tire in search of anything sharp, but be careful, as you don’t want to cut your finger on a piece of glass or metal sticking through. Remove any object you find.
Slightly inflate your new tube so it has a bit of shape. Push your tube up inside the body of your tire and push the valve through the hole in the rim. Pull both sides of your tire back onto the rim. Start on the opposite side of the rim from your valve and reseat the tire in both directions using both hands. Seating your tire can be difficult, especially when it is close to being completely back on. Make sure the parts of the tire that are already seated have their beads pinched together at the center (forming a cocoon around the tube). This will give you a bit more room to work with.
Attach your bike pump and inflate your tire with its new tube. Inflate slowly and make sure the tire seats properly around the entire rim with no bulges. If there are bulges, deflate the tire, pinch it to loosen the beads, and re-inflate. Reattach your wheel to your bike, and continue your ride.
While most riders appreciate the ease and peace of mind of adding a new tube, it is possible to repair a punctured tube. This is especially useful if you are touring and can’t bring multiple spares, or if you’re in an area where buying another tube might be difficult. To patch a tube, you’ll need a tube patch kit. Once you’ve located the puncture on the tube, clean and dry the area around the hole. Gently scrape this area with sandpaper to rough up the surface, which helps the glue stick. Spread glue around the hole, and attach your patch. Let it dry for about 15 minutes before reinstalling your tire.
If you hate changing tubes, consider converting to tubeless tires. Instead of a tube, these use a liquid sealant within the rim that holds pressure and can even fill small holes that develop as you ride (though you may need to add air pressure for some holes). Tubeless setups can also be run at lower pressures, which can be helpful for off-pavement riding.
These systems are not perfect, however. Larger holes will need to be plugged with a strip of rubber, and large gashes in your tire may be unrepairable.
With these skills, you’ll be ready to fix a flat. For best results, practice before your next ride. Do every step above except replacing the tube: Remove your wheel, remove your tire, inspect the tube, reattach your tire, and reattach your wheel. With the right tools and know-how, your next flat will only be a minor inconvenience, not a ride-ending disaster.
All articles are for general informational purposes. Each individual’s needs, preferences, goals and abilities may vary. Be sure to obtain all appropriate training, expert supervision and/or medical advice before engaging in strenuous or potentially hazardous activity.