How To Choose the Best Bike Trailer
Adapt your steed for toting gear, groceries, kiddos, and more.
No one wants to walk their bike home with a flat tire, a seat post that won’t stay up, or a set of loose handlebars. Minor mechanical breakdowns can become major inconveniences. That’s why having the tools to fix problems with your bike on your bike, is key to keeping you on your rides. Stay the course by knowing how to pack the right repair kit.
If you’re extending far from home, your distance from family, friends, and a quick walk home greatly changes what you’ll need on your bike. (And if you’re deep on a path or trail that’s inaccessible from cars, make sure you let a contact know where you’re headed in the event of a major breakdown.)
Knowing your nearest bike shop can also help solve big problems that you might not want to tackle on your own, and help you restock on supplies like tubes mid-ride.
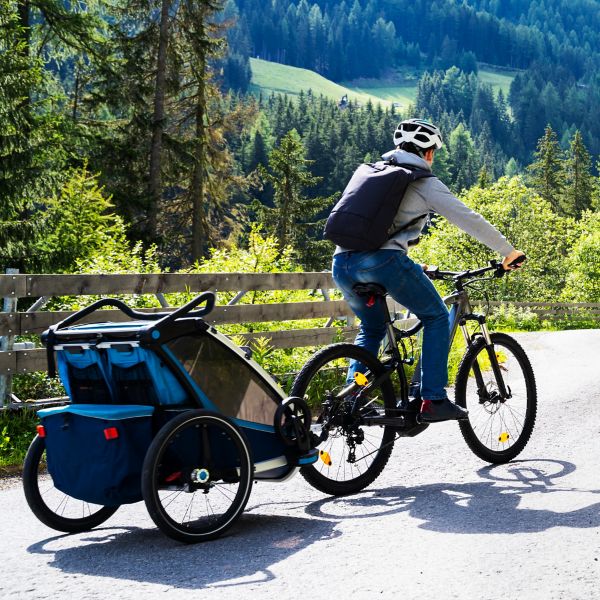
Knowing how much space you have to carry gear will help you decide what is a must-have item and what is a leave-behind hope that you won’t need.
If you are not a handy person, hate getting your hands dirty, or just don’t want to be bothered changing a flat on the side of the road, consider the modern repair kit:
If you know your ride is in an area with service and your friends are free, you can always call someone when the going gets tough. These are also essentials to bring on your ride even if you bring more tools. You never know when you’ll need to call to see if a bike shop has a spare tire, pay for a bottle of water on the ride, or fold up that $20 bill and lay it in your tire to cover a gash.
To fix common problems on rides around town or for a few hours in the afternoon, these tools will serve most riders well.
For a puncture on the road—one of riding’s most common mechanical failures—you’ll need to replace the tube or patch it. People like replacing for speed and efficiency, but patch kits are lighter and will save you money over time.
Either is necessary once you get that new tube in. Pumps can be used over and over again, but CO2 is lighter, even if it is one-time use. Be sure your cartridge is big enough to fill your tire should you go down this route, and practice using it and the adapter at home so you know what you’re doing when the time comes.
These lightweight and helpful tools make it easy to pull your tire off the rim when your tube goes flat.
The right tool can help you fix most problems like loose handlebars, a crooked seat, or imperfect pedal position. Look for one with a variety of Allen wrench sizes, screwdrivers, open wrenches, a blade to cut anything that might be dragging, plus potentially a chain tool to take apart and put chain links back together.
Expand your tool kit if you’re heading out beyond where help can reasonably reach you.
While still a good idea for shorter rides, it's a great idea with added distance.
Make it easier to adjust pieces too hard to manipulate with your fingers.
Adjust your spokes should one go loose after a particularly gruesome shot to your rim.
When everything else fails, turn to duct tape and zip-ties.
Especially on dry and dusty rides, it's a great idea to bring lubrication for your drivetrain. A small bottle of chain lube and a small rag to wipe off your chain will go a long way.
If you’re headed out on a multi-night trip, or where help is days away, you’re going to want to solve just about any problem with these additional tools.
Tires get slashed, especially after riding over sharp rocks. A tire with a hole or slash can’t protect your tube, which will go flat over and over again. A spare lets you replace the ruined one and get back on the road.
A small, easy-to-carry solution to solve a broken chain, working with your chain tool to pop out the old and install the new.
A broken spoke can seriously compromise the integrity of the rest of your wheel. Pop one out with your spoke wrench and install a new one. They’re light and easy to carry, just tape it to your frame.
Over thousands of miles, things are sure to get loose. Have a few spare parts for when they pop off.
Some companies package bike repair kits together. Make sure the tools inside match the demands of your ride—and if not, supplement it accordingly. If you don’t want to use an included patch kit, make sure to pack a spare tube along with your kit.
A bike tool kit is no good if it sits on the counter. Make sure you know how you are going to carry your kit, especially a prepackaged one in disposable plastic packaging or a cumbersome hard case. Bundle your repair kit items in a tool roll or small bag that you can easily store on you or your bike. Keep it all in one place so you have everything you need. After that, store it in your jersey pocket while you ride, or on your bike in a seat bag or handlebar bag. Just be careful: In some areas, these have a way of walking off if they are not taken inside overnight.
Your tool kit is also no good if you don’t know how to use it. Watch videos, read up, and the next time you get a flat, try fixing it at home rather than taking it to the shop—so you’re ready the next time it happens farther down the road.
All articles are for general informational purposes. Each individual’s needs, preferences, goals and abilities may vary. Be sure to obtain all appropriate training, expert supervision and/or medical advice before engaging in strenuous or potentially hazardous activity.