5 Top National Parks for Fishing
These five parks are best viewed from the water’s edge.
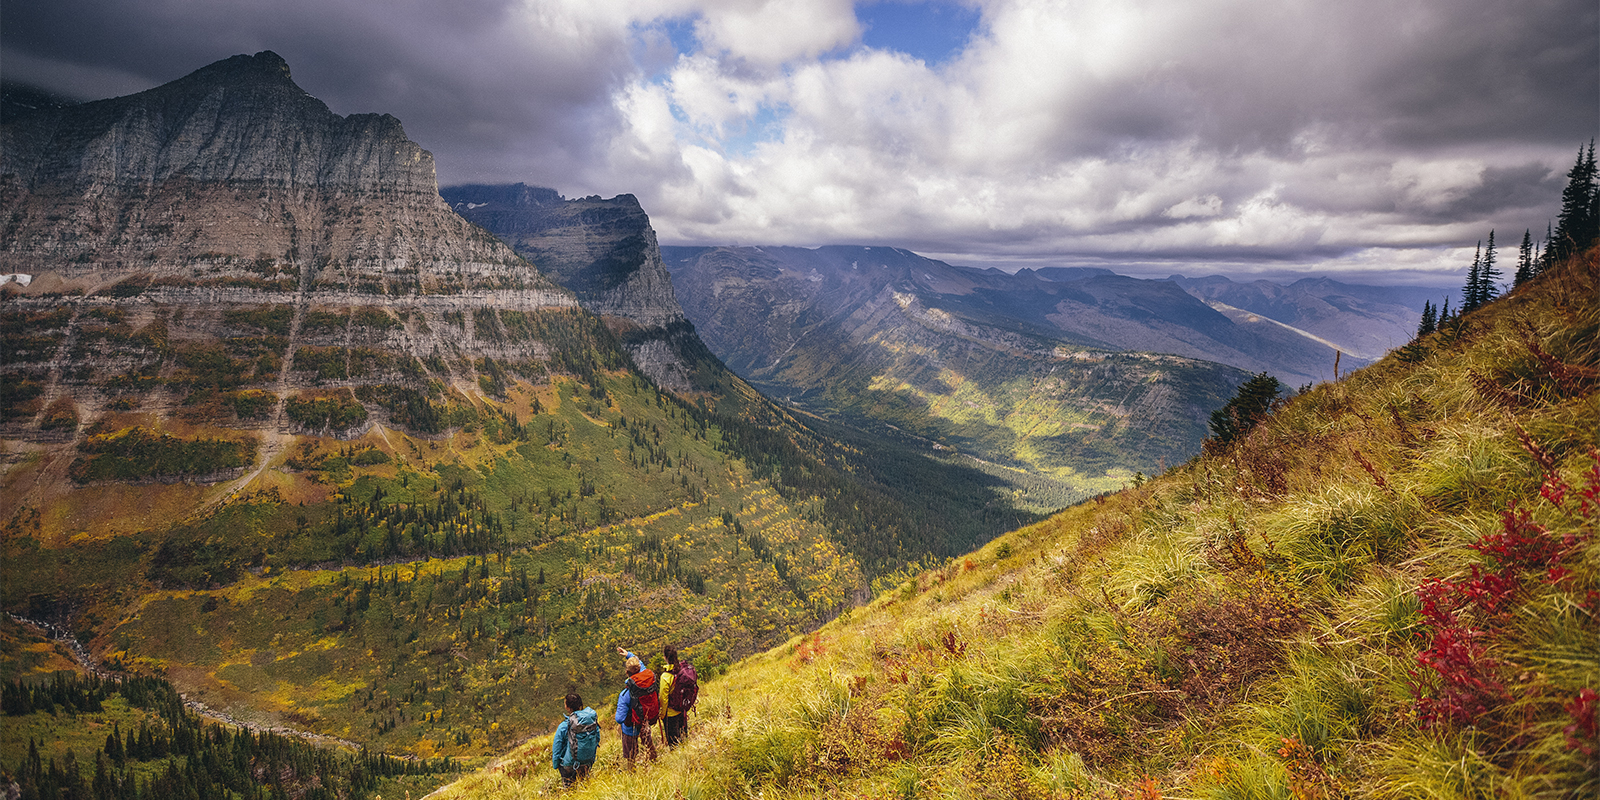
If you want to really experience the Grand Canyon, you need to slow down and walk. Wherever you are, whether in a vast place like the Grand Canyon or your local park, hiking is the best way to immerse yourself in the landscape. While you walk, you can observe how the environment changes, take in the little stuff you’d miss if going faster, and easily stop to explore anything that catches your eye. And at the Grand Canyon, there’s a lot to catch the eye.
In this guide we’ll highlight everything you need to know about day hiking in the Grand Canyon, from the right gear to the best trails to take. We’ll cover:
When visiting the Grand Canyon, you’ll likely need to choose which rim you’ll head to (they are separated by a 4.5-hour drive).
The South Rim is the most popular starting point for visiting the Grand Canyon. It’s accessible year-round and is far more developed than the North Rim, with visitor centers, museums, stores, hotels, restaurants, and campgrounds. The South Rim is 3.5 hours from Phoenix.
The North Rim offers a much quieter and more remote experience. It has only one campground and one lodge, and can’t be accessed by car in the winter. The North Rim is 4.5 hours from Las Vegas.
You can hike in the Grand Canyon all year, but the seasons offer a wide variety of conditions. Here’s what to expect:
Spring: This is a gorgeous season for visiting the Grand Canyon. Temperatures are moderate, creeks and springs are more likely to be flowing, and flowers bloom below the rim.
Summer: This is peak season for the park, or at least certain areas of it. But even in summer, it’s possible to find solitude. Hit the trail before sunrise or seek out less popular areas (for example, go to the North Rim instead of the South Rim). Downside: Summer can be extremely hot below the rim (as much as 30 degrees warmer than on top), and afternoon thunderstorms are common.
Fall: Like spring, this is an excellent time to visit because of the moderate weather. Rain is less likely in the fall and the colors of cottonwoods changing, below the rim, are spectacular.
Winter: This is the only season when the Grand Canyon is (relatively) deserted. The South Rim hot spots are still busy, but apart from those areas, solitude is easy to find. The catch? At an elevation of 7,000 feet, the South Rim is snowy and cold in the winter. Icy trails can be difficult to navigate at the top, but if you descend into the canyon you’ll find much more moderate conditions after just a couple miles of hiking.
It’s always important to stay hydrated while hiking, but in the Grand Canyon, consider it mandatory. Extreme heat and steep trails are a dangerous combination if you’re not prepared. Fortunately, you can do three things to ensure your safety. 1) Carry a gallon of water per person per day in warm weather (if you plan on getting water below the rim, check with rangers on current sources); 2) Start early and avoid hiking during the hottest part of the day; 3) Be conservative about mileage and elevation change.
Packing list: Always pack the 10 Essentials, and in the Grand Canyon put special emphasis on water (see above), food (more than you think you’ll need), navigation, a headlamp, and sun protection (sunscreen, sunhat, sunglasses, and sun protective clothing).
Trekking poles: Anyone hiking below the rim will be glad to have trekking poles. They help reduce impact on your joints, which can be considerable when descending thousands of feet.
Traction: In the winter, in addition to appropriate cold-weather clothing, traction devices are critical if the trail is icy. If you’re not comfortable with the conditions, take a hike along the flatter rim trails and enjoy spectacular views of the snow-covered canyon.
Mules: Mules are used in the Grand Canyon to transport goods, people, and baggage. You’ll likely see the mule trains from a distance or encounter them while hiking on the Bright Angel or South Kaibab Trails. Avoid a negative encounter: Step off the trail as the mules approach (uphill side of the trail, away from the edge), stay quiet and still so you don’t spook them, and give the train about 50 feet before you start moving again.
Hiking below the rim: Remember, you’re descending into a steep canyon, and on a hike below the rim, the return trip is a lot harder than the first leg. Expect the climb back up to take twice as long as the trek down. The National Park Service advises hikers not to attempt reaching the river and back in one day, and especially not between the months of May and September. More than 250 people are rescued from the Grand Canyon each year, many due to heat exhaustion and dehydration. Experienced and fit hikers do make it to the river and back on a day hike, but don’t underestimate the challenge.
Miles: 13 (one-way)
Elevation Change: Gain 200 feet, Loss 200 feet
This flat, 13-mile trail from the South Kaibab Trailhead to Hermits Rest hugs the South Rim of the canyon, and provides continuously great views. Do the whole Rim Trail for a great cross-section of South Rim sights, with some surprising pockets of solitude. A portion of the trail is paved and it’s wheelchair accessible from Lookout Studio to the South Kaibab Trailhead. The best part? You can bring your leashed dog on the Rim Trail and there are many shuttle bus stops if you want to stop halfway or skip a few miles. A popular section (complete with a geology lesson via interpretive signs) is the 1.3-mile Trail of Time from the Yavapai Geology Museum to Verkamp’s Visitor Center. Trailview Overlook offers good views of the switchbacking Bright Angel Trail and Hopi Point is an excellent place to watch the sunset.
Miles: 6.4 (round-trip)
Elevation Change: Gain 2,500 feet, Loss 2,500 feet
Start at the Grandview Trailhead (12 miles east of Grand Canyon Village), which offers wide-open views of the canyon even from the parking lot. The trail was built in the late 1800s in order to access a copper mine at Horseshoe Mesa (take note of the cobblestone work of the trail). The path begins with steep switchbacks, and goes through Coconino Saddle (which is nicely shaded and a great spot for a break) before descending to Horseshoe Mesa, a large flat plateau with great views. A backcountry campsite is located on the mesa, as well as mining relics and, just below the mesa on the trail to Hance Creek, you’ll find Page (aka Miners) Spring (not always reliable).
Miles: 6 miles (round-trip)
Elevation Change: Gain 2,000 feet, Loss 2,000 feet
The South Kaibab Trail is the shortest route (6.5 miles) to the Colorado River, and the steep, direct path has pros and cons. On the upside, it delivers amazing and constant views from step one. On the downside, the exposed trail offers no respite from the sun. Fortunately, you can enjoy the best views without going all the way to the river; a good turnaround point is Skeleton Point, where you get the first view of the river. Like the Bright Angel Trail (below), the South Kaibab Trail is extremely popular, so plan accordingly if you want to avoid the busiest times. If you’re backpacking and overnighting at Bright Angel Campground, it’s great to go down the South Kaibab Trail (7 miles from rim to camp) and up the Bright Angel Trail (9.5 miles from camp to rim).
Miles: 9 (round-trip)
Elevation Change: Gain 3,050 feet, Loss 3,050 feet
Like the South Kaibab Trail, the Bright Angel Trail is popular because of its great views and easy South Rim access. It’s a little less steep than the South Kaibab, and offers the chance to hike to Indian Garden (soon-to-be Havasupai Garden), a lush oasis with a spring, creek, and shady cottonwoods. The mid-canyon oasis is considered sacred to the Havasupai and was once used as farmland before the tribe was forcibly relocated. The spring water makes it a popular day hike destination as well as a campsite for backpackers. Fit hikers can continue to Plateau Point (6 miles one-way) for a view of the river, but don’t underestimate the additional distance.
Miles: 0.7 (round-trip)
Elevation Change: Gain 20 feet, Loss 20 feet
This is more of a stroll to an overlook than a hike, but it’s great for families with very young kids and anyone who wants a fully ADA accessible trail with stunning views of the canyon. Bonus: It’s a prime viewpoint for both sunrise and sunset. There are 10 accessible parking spaces in the paved lot and all of them are van-accessible. The trail itself is paved asphalt and is 5 feet wide on average and there are benches along the way to rest or take in the views. Heads up: A short and easy trail to a great view is a recipe for crowds.
Miles: 0.6 (round-trip)
Elevation Change: Gain 65 feet, Loss 65 feet
If you want the biggest payoff for the least effort, this is it. The short walk is the go-to spot for sunrise and sunset, and for sweeping panoramic views of the canyon. Along the way, be sure to walk out on top of Angels Window, a large natural arch jutting out into the canyon and protected by railings.
Miles: 3 (round-trip)
Elevation Change: Gain 280 feet, Loss 280 feet
This out-and-back trail hugs the rim of a side canyon called the Transept and connects the Grand Canyon Lodge and Visitor Center and the North Rim Campground. It’s a flat, easy dirt trail amongst the aspens, pines, and oaks that travels past an Ancient Puebloan ruin. This relaxing stroll offers the best of both worlds: a tranquil forest and nice views into the canyon itself.
Miles: 9.6 (round-trip)
Elevation Change: Gain 1,000 feet, Loss 1,000 feet
The first mile travels along the rim, then heads into the shaded forest on perfect singletrack before popping out at a beautiful viewpoint on the edge of the canyon. It’s perfect for a longer hike that’s still moderate in difficulty, letting hikers take in the canyon without descending and ascending thousands of feet of elevation.
Miles: 9.4 (round-trip)
Elevation Change: Gain 3,200 feet, Loss 3,200 feet
This is the only maintained trail into the canyon from the North Rim; it descends all the to the Colorado River and has many options for out-and-back day hikes of varying lengths. Head down to Supai Tunnel (a little less than 4 miles round-trip) for views of steep canyon walls. For a full day, descend to Roaring Springs (9.4 miles round-trip), where there’s drinking water spring to fall (check with rangers). Roaring Springs is actually the source of water for visitors all the way across on the South Rim, where it’s delivered via a pipe that crosses the canyon.
All articles are for general informational purposes. Each individual’s needs, preferences, goals and abilities may vary. Be sure to obtain all appropriate training, expert supervision and/or medical advice before engaging in strenuous or potentially hazardous activity.