The good news is that if you can hike, you can backpack. In many respects, it’s the simplest form of outdoor exploration: Just put your things in a pack and start walking. But when you think about what it means to be self-sufficient in the wilderness—planning your shelter, food, water, navigation, and more—it can start to sound complicated. We’ve broken the planning process down into 10 steps to help you get started, get organized, and get out there.
This guide will cover:
1. Where to start: length and timing
2. How to find a backpacking partner
3. How to pick a route and get maps
4. How to get permits
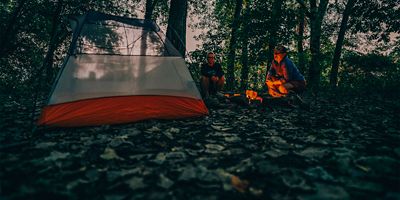
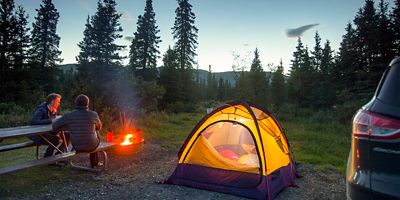
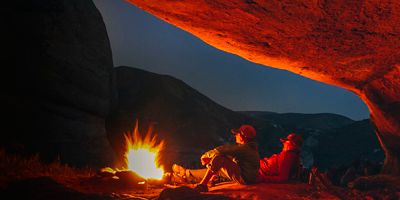
5. Deciding where to camp
6. Safety considerations
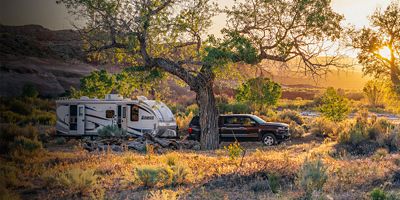
7. How to plan transportation
8. Understanding Leave No Trace principles
9. What to pack for a backpacking trip
10. Last-minute checklist
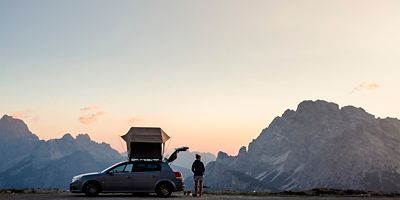
Where to start: length and timing
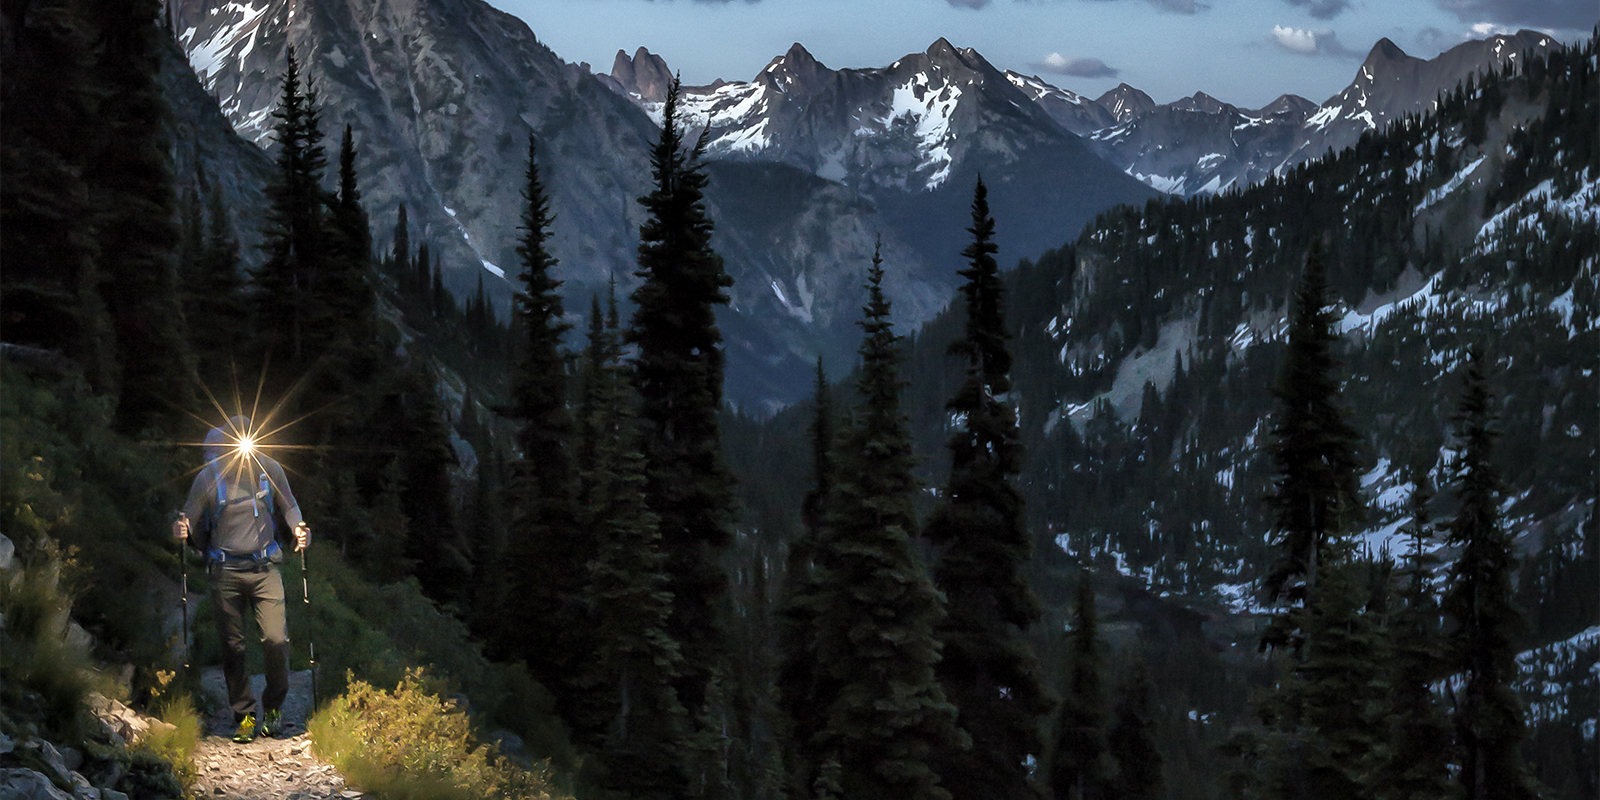
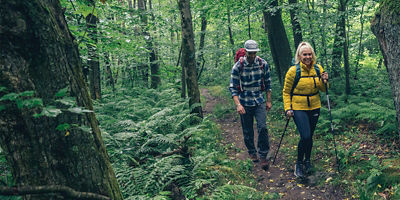
When it comes to planning a backpacking trip, the first thing you should consider is length. A good general rule is to plan for five to 10 miles per day when you’re starting out.
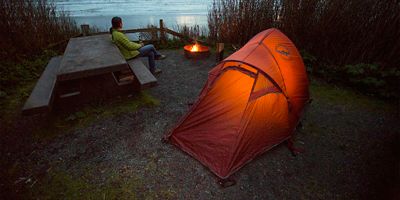
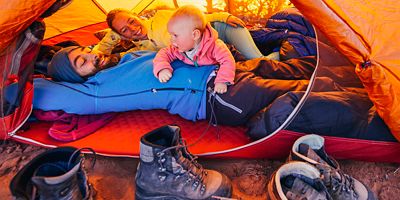
The next consideration is time. If you’re new to backpacking, consider a one- to three-night trip. For your first trip, start with an overnight along a loop or an out-and-back with well-marked trails, plentiful water sources, and established campsites.
How to find a backpacking partner
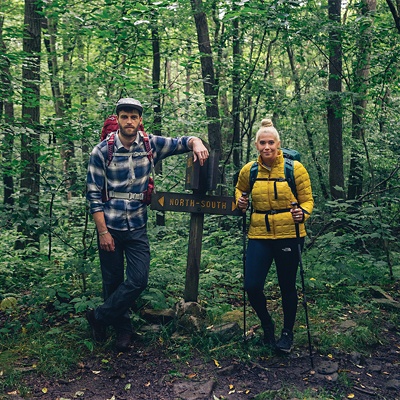
Planning your first backpacking trip ever? It’s best to go with an experienced friend (or several). There’s nothing better than learning from others. Plus, you’ll benefit from camaraderie if the weather gets rough, and have extra minds to help make decisions.
Meetup groups, affinity groups, local hiking clubs, and other community organizations are great ways to meet new adventure buddies. However, before you go on a multi-day trip with someone, make sure you feel safe and comfortable—both in their outdoor experience level and in your own ability to voice concerns and opinions that you know will be heard.
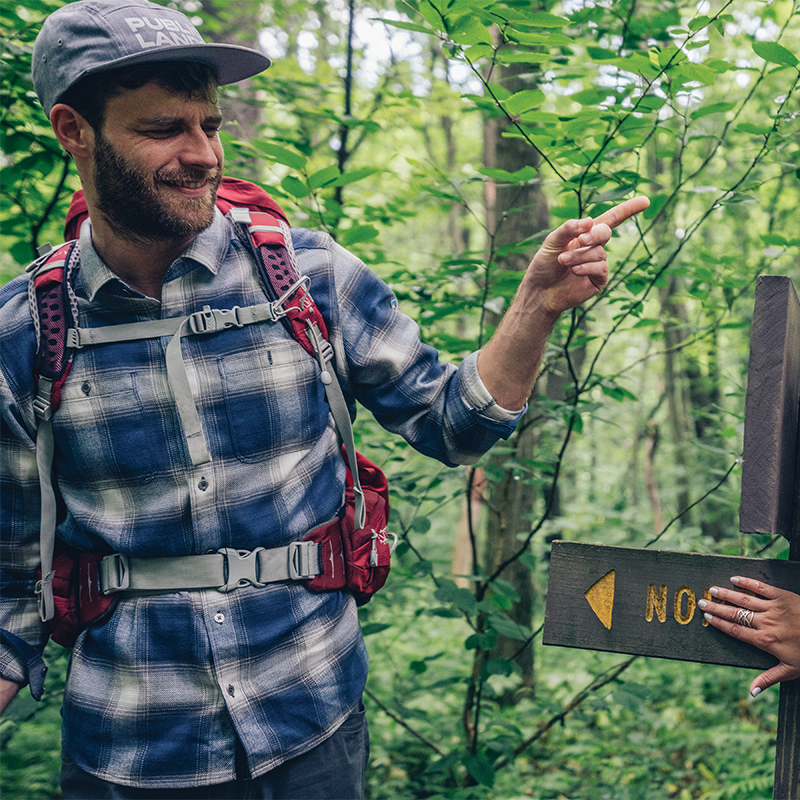
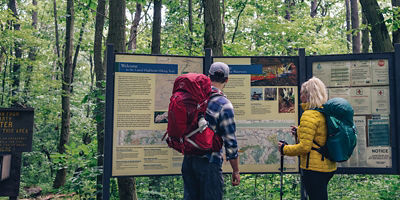
How to pick a route and get maps
Start scanning through guidebooks or online trail recommendations for parks, national forests, and other public lands near you. Look for payoffs. Is there a lake or waterfall? Are there overlooks with incredible views? Is it the right season for wildflowers or fall color? Does one route form a loop or an out-and-back that would save you from having to park two different cars at different trailheads? Use these questions to whittle down your list to routes that also meet your length and timing criteria. Scan through a description or a few online trip reports for each route.
Check for challenges as well. Does one route feature way more elevation gain than the others? (About 1,000 feet of vertical gain per day is a good ballpark limit when you’re starting out.) Are there any red flags like lack of reliable water sources, tricky route-finding, or burned zones without shade or shelter? What about seasonal hazards like mosquitoes or deep water crossings?
Finally, do a quick online search to make sure permits are easy to get. Some backpacking trips, like those in Washington’s Enchantments region or along Mt. Rainier National Park’s Wonderland Trail, are so popular that you have to enter a permit lottery many months in advance.
Next, find a topo map of your route (and brush up on map reading skills). You can either find one online (try a mapping program like Gaia GPS or CalTopo) and print it out, or buy a paper map. USGS.gov is a great source for custom printed maps, and many gear shops sell maps. When you leave for your trip, it’s best to have both a paper map and compass, and a GPS-enabled map either on your phone or on a handheld GPS unit.