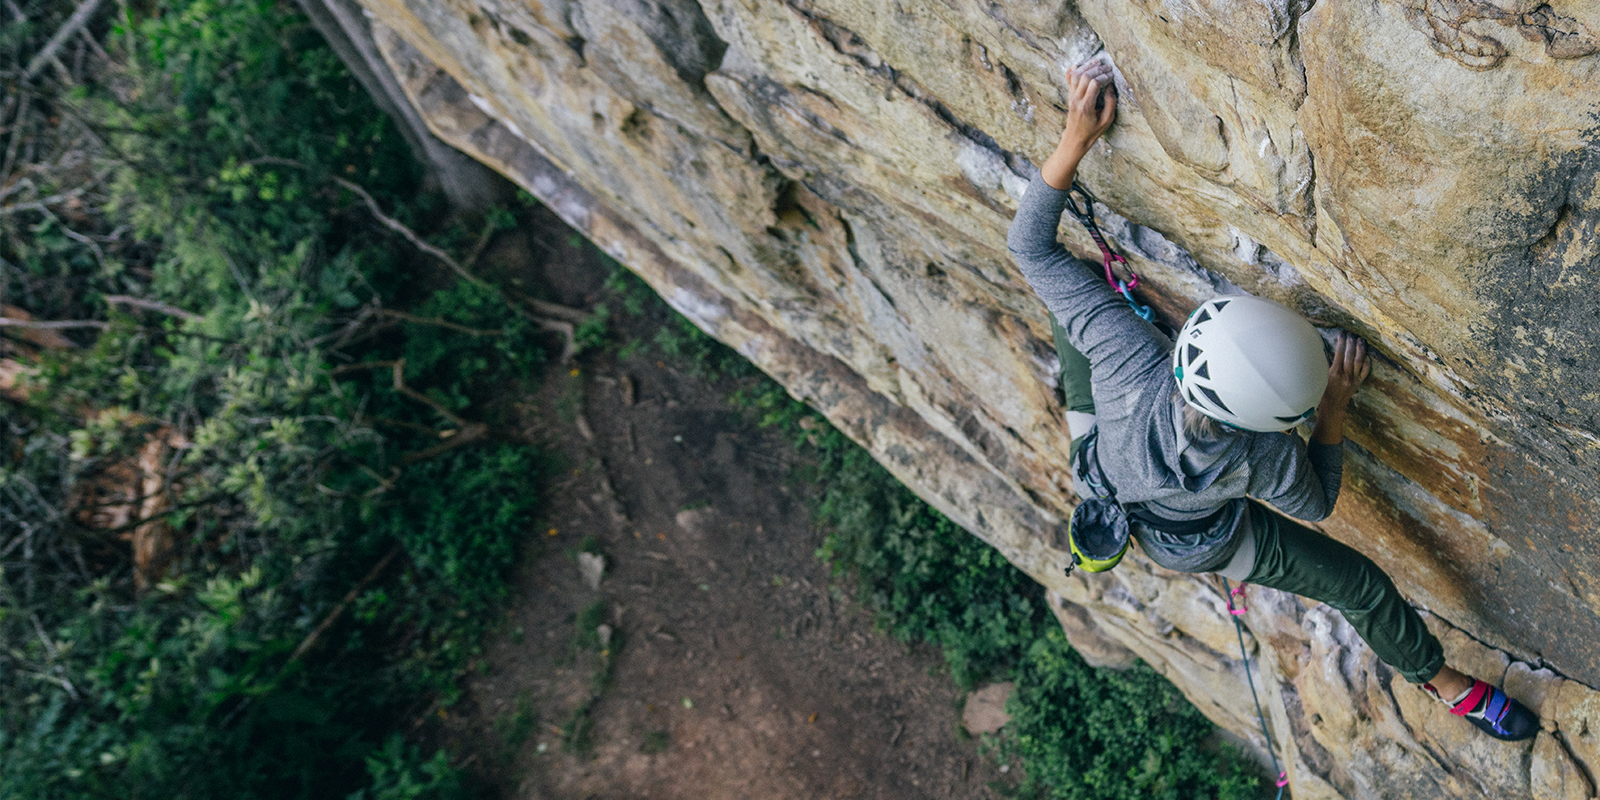
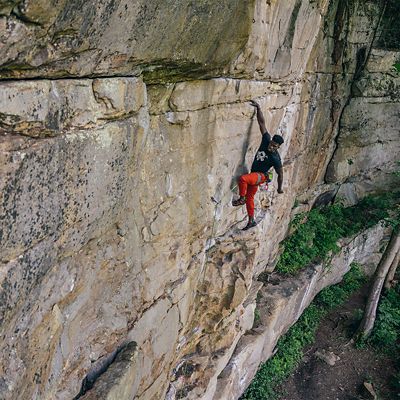
How lead climbing works
You should always learn to lead from a qualified instructor. That said, here’s a brief rundown of what lead climbing will look like when you’re actually ready to go.
1. Stack your rope on the ground.
Because you’ll be trailing the rope behind you as you climb, start by making sure it’s stacked neatly. When you start climbing, the rope should feed seamlessly through your belayer’s hands and then up to you on the wall.
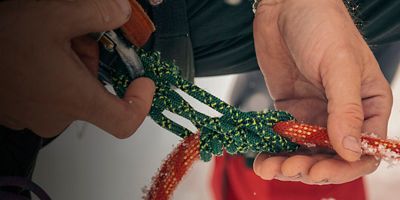
2. Tie into the top of the rope.
Grab the end of the rope that’s sitting on top of the stack. Tie this end of the rope to your harness with a figure-eight follow-through knot.
3. Do a partner check.
Make sure your belayer has fed their device correctly, and that there’s 5 to 10 feet of slack rope between you. Check that your knot is properly tied.
4. Start climbing.
When you start up the wall, the rope should be dangling between your legs. Your belayer will start out by giving you a bouldering spot. After all, if you fall before the first clip, there’s nothing to catch you yet.
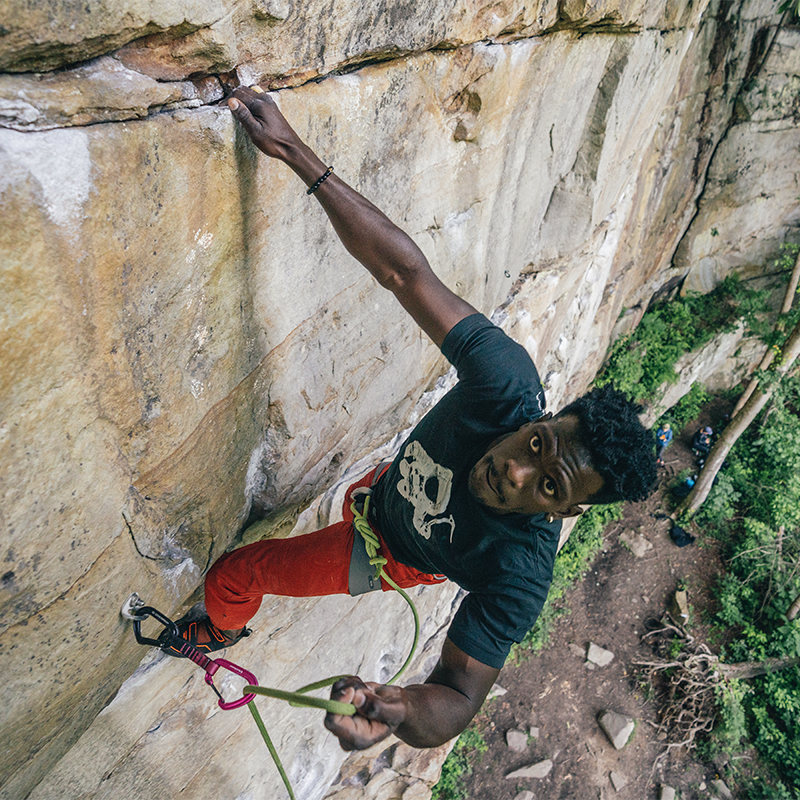
5. Make the first clip.
When you get to the first draw, you’ll shout “Clipping!” to give your belayer a heads up. Then, reach between your legs to grab the slack rope. Pull up a bight and clip this bight into the draw. (If your partner doesn’t take in slack right away, it’s customary to shout “Clipped!” to let them know you’re done.) Once you’re clipped, your partner will be able to use the rope to catch your fall.
6. Check for back-clips.
Make sure the end that runs to your harness is coming out of the top of the draw toward you. The end of the rope that leads to your belayer should be on the bottom—closest to the wall. This is the correct position for the rope. If everything looks backward, that’s called a “back-clip.” Back-clipped draws can un-clip themselves during bad falls.
7. Keep climbing.
Now comes the scary part: You’ll have to climb above your first draw to get to the second. If you fall above a draw, your actual fall will be double that distance—meaning, if you’re 5 feet above a draw when you fall, you’ll actually fall 10 total feet before the rope catches you. For the first few clips, be mindful of this fall distance, as you’re still pretty close to the floor. Stay calm and calculated, and progress with care. If you’re nervous, you can use the command “Watch me,” to tell your belayer to more minutely manage slack. If you need more room to maneuver, shout “Slack!” to get more rope.
8. Check for Z-clips.
When you’ve made your second clip, you’ll have one more troubleshooting step to take. In addition to making sure it’s not back-clipped (see Step 6), also make sure that the rope is running in a smooth line. It should extend straight from your belayer to your first clip to your second clip. When clips are very close together, it can be easy to accidentally scoop the rope up from beneath your first clip instead of grabbing it from just below your harness. Do this, and the rope will zig-zag all over the wall, pinning you in place. This is called a “Z-clip,” and it’s a big safety no-no.
9. Take it to the top.
After you’ve made your second clip, you’ll continue up the wall, clipping your way along until you reach the top. Keep checking your clips throughout, and feel free to sit back on the rope and rest when you need it. (Just shout “Take,” so your belayer knows to take in slack first.)
10. Clip both carabiners.
At the top, be sure to clip both carabiners such that they’re opposite and opposed. Then use the commands “Take” and “Lower” to tell your partner you’re ready to lower.
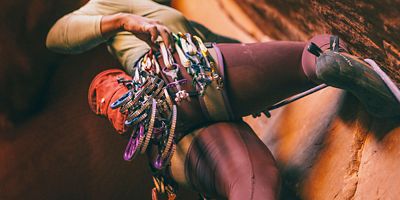
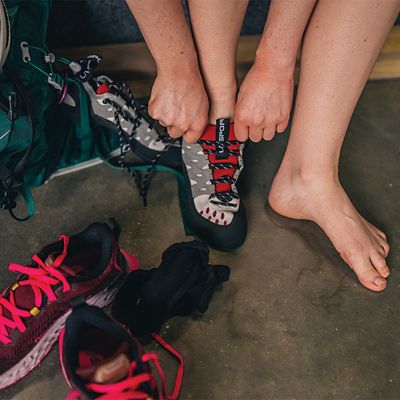
Your lead-climbing gear checklist
In terms of gear needs, lead climbing in the gym isn’t too different from top-roping. This is especially true if your gym provides lead ropes and/or rope bags or baskets to put them in. If they don’t, refer to this gym lead-climbing gear list:
If you’re planning to lead climb outdoors, you’ll need a longer rope—at least 60 meters. You’ll also need a few other safety items, including rappelling and anchor-building materials. (Check out the full sport-climbing packing list.)
Safety considerations
Whenever you’re lead climbing, keep these safety tips in mind.
- Watch your heels. Make sure your heel never sneaks between the rope and the wall. If you slip with your heel behind the rope, it could catch your ankle and flip you into an upside-down fall.
- Keep your fingers clear. Always be careful that no part of your hand ever comes between the gate and the nose of the carabiner while clipping. Otherwise, you could end up losing some skin.
- Don’t grab the bolts. It can be tempting to grab the metal bolt hanger with your fingers. This is a big no-no. Climbers have been known to fall with their fingers stuck in bolt hangers, which can lead to nerve damage, broken fingers, or worse. It’s much safer to take a whipper than to grab a bolt or carabiner. You will see some climbers grab the dogbone (the nylon part of the draw) when things get desperate, but this isn’t a great habit to get into. If you fall while holding a draw, you’re more likely to get your hand caught in the carabiner on the way down.
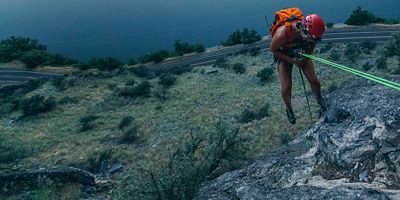
- Wear a helmet. Most gyms don’t require you to wear a helmet, but you should always wear one whenever leading or lead-belaying outside.
- Tie a stopper knot. Before you start up a route, tie an overhand or figure-eight knot in the free end of the rope. That way, if you have to lower farther than expected, the end of the rope won’t slip through your belayer’s device.
- Shout “rope.” Before you pull your rope at the end of the climb, shout, “rope.” That way passersby can get out of the way before it goes plummeting from the ceiling.