You may have heard in the gym or at the crag: “This is a really powerful move,” or “She’s a really powerful climber.” Upping your power can unlock tons of new routes and styles of climbing. But what does power really mean?
Power is the measure of the force you can generate over a certain period of time. In essence, it’s doing big moves fast. Think about doing a slow, controlled pull-up. Now think about doing one explosive, pull-up as fast as you can. The second uses the same amount of strength but over much less time—that’s power.
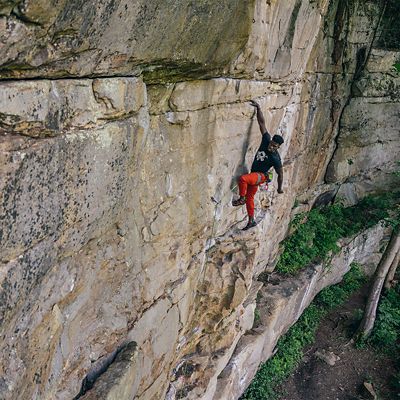
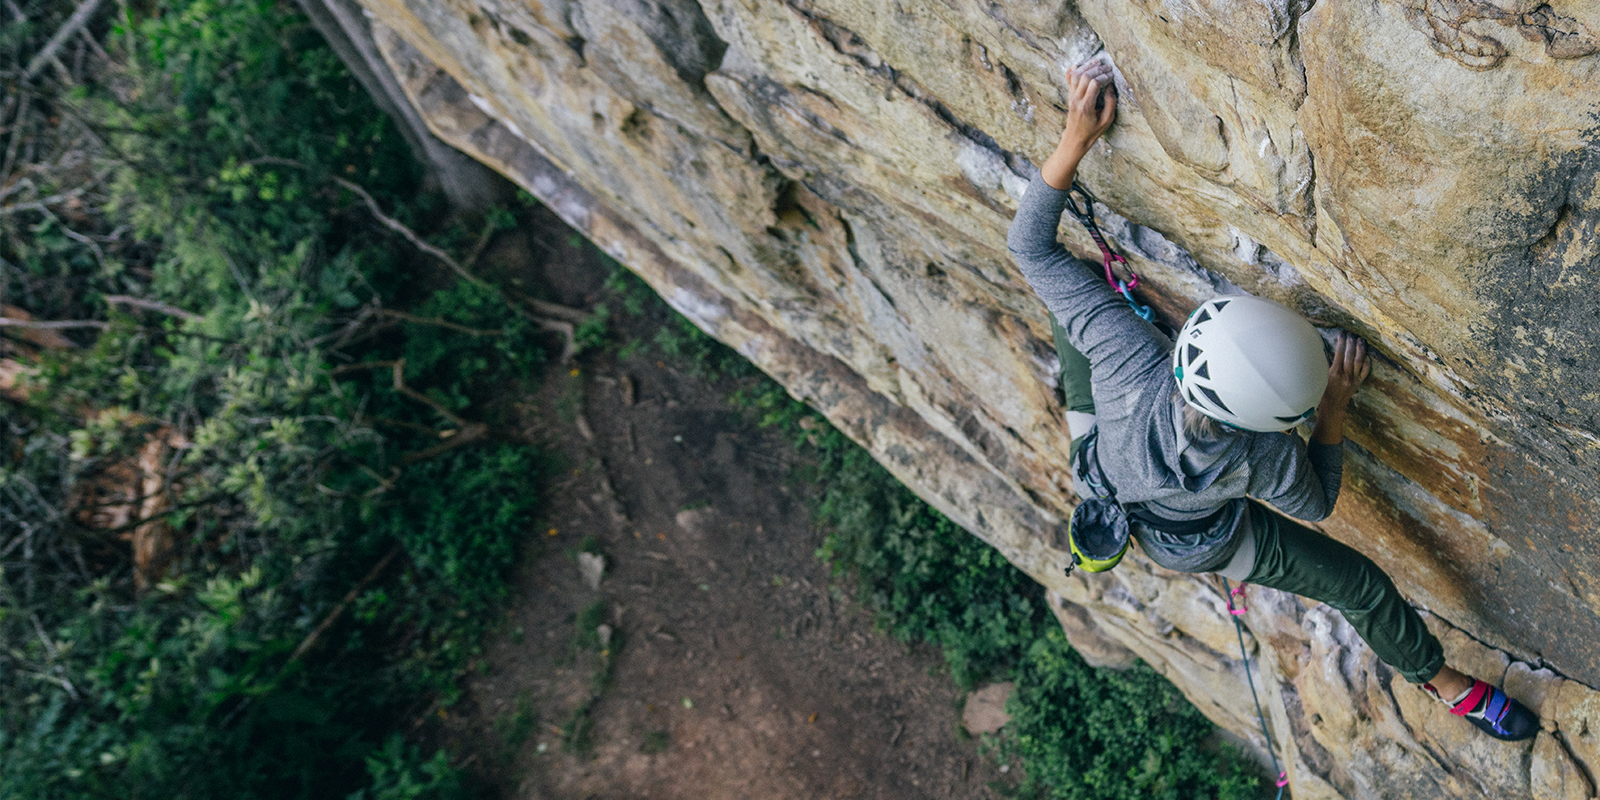
In climbing, power enables you to move quickly through hard sequences, execute dynamic movements (“dynos”), and throw for holds on big reaches. It’s especially useful in bouldering and steep sport climbing, and it’s a great trick for shorter climbers—you can easily overcome a lack of height by adopting a poppy, dynamic style of climbing.
When To Train Power
It’s best to train power when you’ve already built a solid base-level of strength. If you find yourself unable to stay on the wall for more than 10 or 15 moves, start by building up some base-level endurance before focusing on strength or power. Likewise, if you struggle to do a single pull-up or maintain grip on smaller holds, do a few weeks of general strength-training or finger-boarding before you train power.
The reason for that progression is that power training is fast and explosive, so it can be hard on your body. A solid fitness base can help prevent injury. It’s also important to do power exercises with good form—so be sure to do them when you’re adequately warmed up and well rested (i.e., not after an hour-long bouldering session).
When To Rest
While training for power, it’s important to rest for several minutes between each set of exercises and at least two days between each workout. Each workout should consist of no more than four different exercises and should take no longer than 90 minutes. Because there’s so much rest, you might feel like you’re not getting a good workout in. You might not even break a sweat. That’s normal. Power training is very different from endurance training, so it will feel different. But that doesn’t mean you aren’t making big gains—stick with it, and don’t skimp on the rest!
Weight Training To Build Power
Weight training is one method of power training for climbing. It doesn’t involve finger strength or climbing-specific movement, but it’s still beneficial for training the big muscle groups you’ll need to generate explosive movement on the wall, and it’s a good place to start. If you’re training to climb on mostly vertical routes, focus on your core, hips, and legs. If you’re training for overhanging routes, focus on your shoulders and arms. Here is an example exercise for each.
Hips: Kettlebell Swings
Pick up a kettlebell with both hands. Stand with your knees slightly bent and feet shoulder-width apart. Bend at the hips, swinging the kettlebell gently backward through your legs, then do an explosive hip thrust to swing the kettlebell up and out as hard as you can until it’s about chin-height, squeezing your glutes at the top of the movement and keeping your arms straight throughout. At the top of the movement, relax and let it swing back through your legs, maintaining a neutral neck and spine.
Do four sets of five repetitions, resting at least four minutes between sets. If this feels too easy, go up in weight until the fifth rep is the last one you can do while still maintaining good form.
Core: Medicine Ball Slams
Get a slam ball (basically a big, cushy weighted ball, available at many gyms). Hold it above your head with your arms fully extended, and stand with your knees shoulder-width apart and slightly bent. Bend forward as if you’re doing a crunch and throw the ball at the floor as hard as you can, following through with your arms.
Do four sets of five repetitions, resting at least four minutes between sets. If this feels too easy, try a heavier slam ball.
Legs: Box Jumps
Start with the highest box you feel comfortable with. That could be at knee height or at hip height. (Higher boxes will require more power, and more focus to avoid whacking your shins.) Stand a foot or two away from the box with your knees shoulder-width apart and slightly bent. At once, bend at the waist and deepen the bend in your knees, swinging your arms straight back behind you. Then, in one movement, leap with both feet onto the box, swinging your arms forward for balance.
Do four sets of 10 repetitions, resting four minutes between each set. If this feels too easy, try a higher box.
Shoulders: Medicine Ball Push-Ups
Get into a push-up position, back straight, core tight, and quads engaged, with a medicine ball between your hands. Do a push-up, lowering your head to one side of the medicine ball. Then, push upward explosively, bringing your hands up off the ground and onto the medicine ball with elbows slightly bent. Pause a moment, then push off and land with your hands again on either side of the medicine ball once again. [Text Wrapping Break]
Do four sets of five repetitions each. If this feels too easy, add more reps.
Arms: Pull-Ups
Hold a pull-up bar with your arms shoulder-width apart, palms facing out. Try to execute the pull-up fairly quickly but with good form, keeping your shoulder blades tucked back and down, pulling your belly button in toward your spine, and keeping your tailbone tucked. Your chin should touch the bar at the top of the movement.
Do four sets of five repetitions, resting four minutes between each set. If that feels easy, try adding weight.