How to Rappel

Photo: Ben Herndon/TandemStock

Rappelling 101: A Rope-Descending Refresher

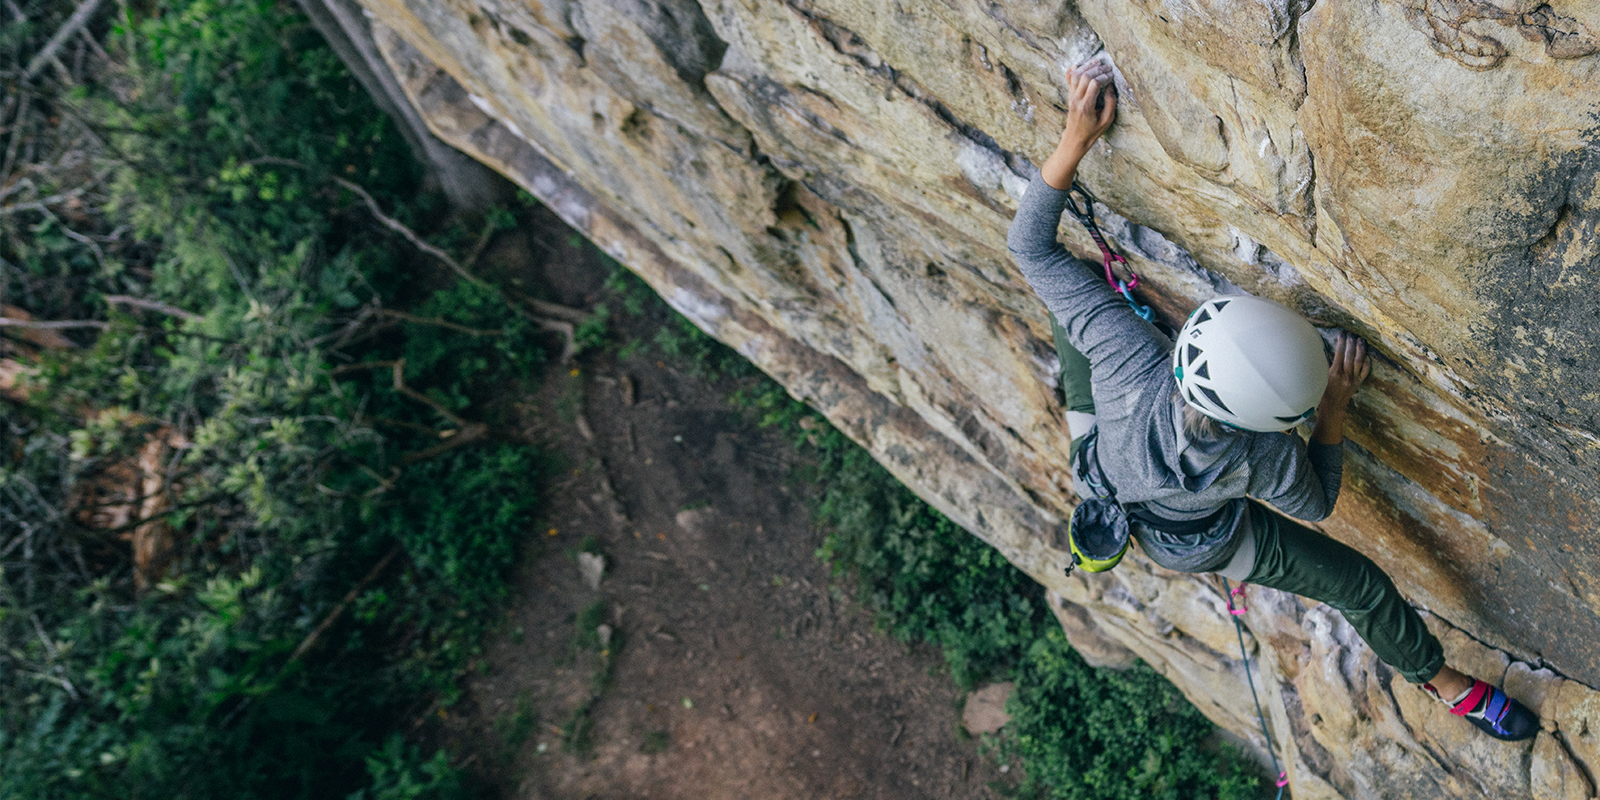
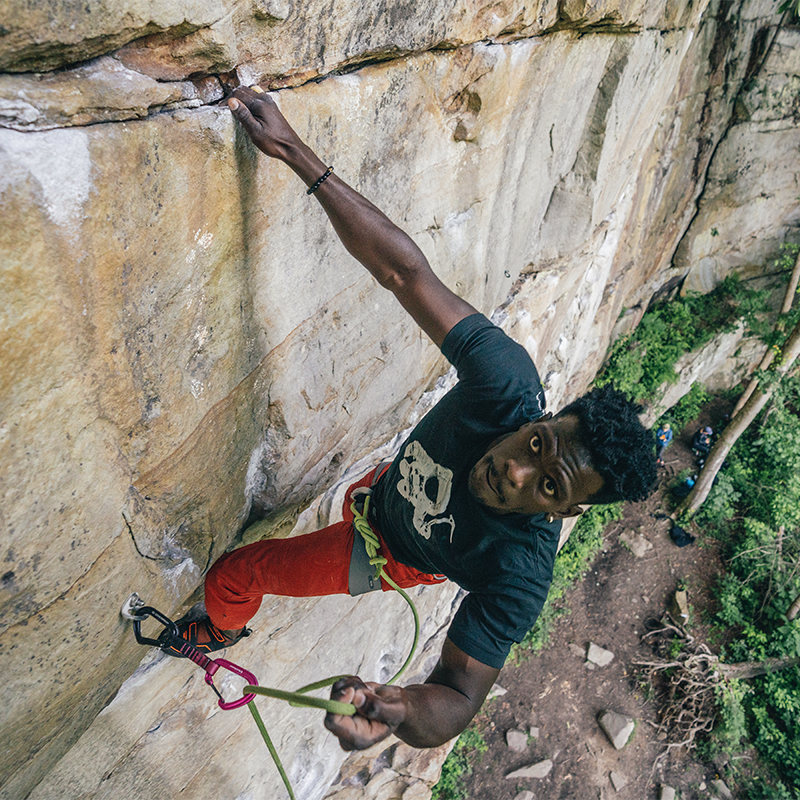
The climbing trope that, “the summit is only halfway,” is too easy to forget. After the excitement of getting to the top, climbers still need to get back down. And if there’s no safe way to go by foot, then rappelling—descending a slope or cliff by sliding down a rope—is the preferred method. It’s also thrilling enough that, as an activity in its own right, it can transcend the whole climbing up part. Heading on a vacation to the Caribbean? Try “rapping” down rushing jungle waterfalls. Bushwhacking your way up a Colorado 13er? Packing a rope and harness can keep you from getting stranded atop a cliff. But understanding how to use that gear to rappel safely is the real key. Even experienced rock climbers can turn a descent into a disaster by cutting corners (rappels are a major source of climbing accidents). With a little experience, education, and patience, rappelling can be nearly foolproof—not to mention a fun way to experience the vertical world. 

Gear Necessities

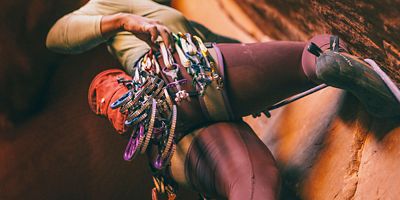
A hemp cord slung over your shoulder like the alpinists of old isn’t going to cut it for a safe rappel. Here’s what you should be carrying.

Rope

This should go without saying, but is a surprisingly common mistake: Make sure you have a rope that can get you from the top all the way to the bottom, with room to spare. You do not want to discover the error of rappelling down a rope that’s too short once you’re halfway there (see below for an important step to prevent this accident).

Most of the time, you’ll want the rope to be more than twice the distance you’re hoping to descend. That’s because you often start by anchoring to the middle of the rope and rappelling down both ends simultaneously, which then allows you to retrieve your rope at the bottom by pulling it down on one end.

Harness

Find a harness that’s comfortable to both sit and hang in—it will be supporting all your weight once you’re on the rope. It should fit snug without being tight, and sit above your hip bones. 

Friction (Belay/Rappel) Device

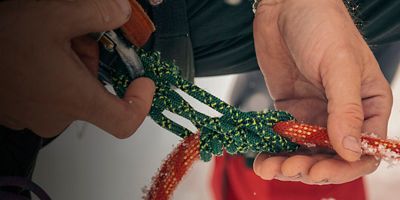
There are a lot of different styles of devices to connect your harness to the rope, but the most common is a tube-style belay device like an ATC, which can double as a rappelling device and allow you to pass both strands of the rope through it. These devices “grip” the rope to increase friction on it, while letting you control how quickly the rope slides through. Pro tip: Look at the specifications for your friction device and make sure it accepts the diameter rope that you have. 

For the safest rappels, bring an additional sling or webbing-loop personal anchor (sometimes known as a PAS) to extend your friction device from your harness. Placing the device farther from your body gives you more room to work the brake strand, more room for the third hand (see below), and can also serve as a personal anchor while setting up the rappel. 

A Good Anchor

This is another piece of the rappelling puzzle that can take many forms. For rock climbers, it’s often a pair of established bolts with chains or carabiners attached. However, a tree, large rock or formation, or other solid fixture can work. The key is that it’s stable and not going to move, no matter how much weight you put on it. Trees should be strong, healthy-looking, and large. Knowing how to build or interpret a safe anchor is a prerequisite for any kind of rappelling. 

A “Third Hand”

While not a strict necessity, a backup on the rope can make rappels far safer. Normally if you let go of the rope (maybe you need to untangle some rope, or get hit by falling rock), it will slide through your friction device freely. Having a small piece of cord and a carabiner (read how below) to back up your hands will keep that from happening. 

On the Rope

With the right gear, setting up a rappel is fairly simple. When it’s time to put your trust in that setup and equipment, however, there are still a few places that might trip you up. Keep these five tips top of mind.

1. “Rope!”

With an anchor selected (or built, if you’re using a more complex climbing anchor), feed your rope around or through it until the middle of the rope sits at the anchor. While you’re feeding, coil the rope as cleanly as possible. Tie a knot like a figure-eight into each end of your rope. That way, if your rope isn’t long enough and you come to the end without realizing your error, the knot will jam in your friction device and prevent you from rappelling off the end of your rope—a fairly common source of accidents. All set? Shout “rope” over the cliff so everyone knows what’s coming, and toss the bundle down and away from the cliff to prevent it from tangling as much as possible. 

2. Get Connected

Fold small “bights” from the two strands of the rope and feed them through the friction device, clipping both ropes and the wire-end of the device with a locking carabiner onto your harness (or on the opposite end of the personal anchor attached to your harness). Look up specific directions for your particular device to make sure you’re using it correctly. Pull up on the downhill or brake strands until your friction device is close to the anchor. 

3. Set Up Your Third Hand

Use a small loop of climbing utility cord to tie a Prusik hitch (a friction knot you can slide freely down the rope with your hand, but that will jam to catch you in a fall—knowing how to tie one is a prerequisite) around both brake strands of the rope, and clip it to your harness well below your friction device (likely to your leg loop). Make sure that this ‘auto-blocking’ backup knot still sits a couple inches below your main friction device so it cannot get caught in it on the descent. 

4. One Final Look-Over

Double-check everything. Is your anchor bomber? Is your rope properly threaded through or around it? Is your rope correctly threaded through your friction device? Are all your locking carabiners locked? Does the rope reach the ground, and did you remember to tie knots in the end? Is there anything unsafe along your rappel route, like branches, loose rocks, or weird cliff features? Weight everything and make sure the Prusik grabs the rope and prevents it from sliding through your friction device. 

5. Start Descending

With the system taught, put one hand on your Prusik knot and the other relaxed on the rope above you and sit back in your harness until your weight is on the rope. Slowly and slightly loosen your grip on the rope and Prusik to allow the rope to slide up through your friction device. You may even need to feed it a bit. Slowly walk backward and over the edge. Once you’re “in the vertical,” sit back even more in your harness and elevate your legs to almost horizontal. Don’t try to stand up straight—you’ll end up slipping into the cliff. Hold yourself off the face with your legs and slowly walk backward as you feed more rope and slide down. Don’t go too fast and lose control. Find a pace that’s comfortable and take your time.

6. Clean Up

Once you get to the ground, get your feet back under you. It might be easiest to squat down to the ground to create some slack in the rope before you stand back up, making it easier to get the rope out of your friction device. Take off your third hand, untie the knots from the ends of the rope, and pull one end of the rope until the whole thing falls back down to you. Welcome back to earth!

All articles are for general informational purposes.  Each individual’s needs, preferences, goals and abilities may vary.  Be sure to obtain all appropriate training, expert supervision and/or medical advice before engaging in strenuous or potentially hazardous activity.

MORE STORIES