Next-Level Lead Climbing

Improve your skills and work toward multi-pitch climbing with these tips for smooth, efficient leading.

When you first learn to lead climbs in the gym, you might be in for a surprise. You’ll often discover that the maximum grade you’re capable of leading is far lower than your max top-rope grade. For new leaders, that gap could be up to several number grades. For experienced leaders, there’s no gap at all. That’s because climbing hard on lead isn’t necessarily about getting stronger or even improving your climbing technique. Instead, it’s about clipping strategically, which is a skill essential if you hope to progress to multi-pitch climbing. Before you venture onto bigger routes, you’ll need to become a confident and efficient leader on single-pitch terrain first.   

So when you’re comfortable leading easy gym routes, have your lead belay certification, and are ready to see some real improvement, it’s time for that next step up to single-pitch skill fluency. This guide will cover everything you need to level-up your lead game:

  • How to fall with confidence 
  • Tips for efficient leading 
  • Leveling up your gear 
  • How to get into multi-pitch climbing

How To Fall With Confidence 

As paradoxical as it might sound, learning to lead with confidence is all about learning to fall with confidence. When you’re afraid of falling, you’re more likely to over-grip, overthink, clip too early, and hesitate before moving upward. All these habits sap your energy, slowing you down on individual routes—and stalling your progress as a climber. 

If you find yourself reluctant to take falls on lead, start by taking practice falls with an experienced belayer. Getting comfortable with falling is an easy way to both improve your efficiency on the wall and to make sure safe technique comes second nature by the time you start taking big falls for real.

When you start practicing, follow this progression and keep the following safety tips in mind:

1. Find an experienced belayer.

And preferably someone who’s the same weight or slightly heavier than you. Remember: When you’re leading, your belayer should always be standing close to the wall with both hands on the rope, and should be constantly monitoring slack to give you a safe, soft catch.

2. Brush up on safe falling technique.

Before you start taking practice falls, remind yourself of the following safety protocol:

  • When you think you might fall, shout “Falling!” to alert your belayer.
  • Then, take a quick look to make sure your heels aren’t behind the rope and that there aren’t any large obstacles beneath you.
  • To prepare to fall, press your toes against the rock, bend your knees, and spring backward away from the wall while simultaneously letting go.
  • Always keep your palms open and facing the wall (never grab the rope when falling).
  • When you swing back toward the wall, stick your feet out, bend your knees, and absorb the shock with your legs. 

3. Fall at the bolt height.

When you’re ready to practice, find a climb that’s easy for you. It should be on a dead-vertical or very slightly overhanging wall. Lead to at least the fourth or fifth bolt and clip the draw. When the bolt is at your waist, have your belayer take in all but a few inches of slack. Shout “falling,” and push gently out from the wall. Easy, right?

4. Fall a few inches above the bolt.

Now, ascend back to your starting point, and climb a hold or two above it. The bolt should now be at mid-thigh level. Alert your belayer that you’ll be falling. They’ll have a little more slack in the rope this time. Spring outward from the wall, adhering to the technique tips above. After you land, talk to your belayer about how the catch felt, and make any necessary adjustments.

5. Fall with the bolt at your knees.

Repeat the above steps, this time with the bolt at knee level. Pause before falling to breathe and talk to your belayer—and even remind yourself out loud that you’re safe, too.

6. Fall with the bolt at your feet.

Repeat the above steps, this time with the bolt at your feet. If you need to, take this fall a few times until it feels easy and comfortable. Then, progress to bigger and bigger falls until you feel confident taking these longer falls, aka whippers. (Just make sure you’re never in danger of hitting the floor, nearby walls, or other climbers.)

7. Make it a regular practice.

Falling practice isn’t something you can do just once. Many climbers, no matter how experienced, find that their nerves return whenever they take a few weeks off leading. Whenever you notice a fear of falling creep back in, schedule a new practice-fall session. Many climbers will also make a point of taking a few practice falls at the start of every gym session just to stay in the habit. 

Tips for Efficient Leading

Lead-climbing isn’t just psychologically tougher than top-roping; it’s physically tougher, too. If there are 10 clips on a wall, that’s the equivalent of 10 extra holds. The secret to sending, then, is to be efficient. Here are five ways to save energy and climb smarter on lead.

1. Practice clipping at home.

Clipping safely and efficiently involves more technique than you might think. Always be careful that no part of your hand ever comes between the gate and the nose of the carabiner. Otherwise, you could end up losing some skin. Pro tip: Keep a draw hung from the ceiling of your car or bedroom. Practice clipping from every angle a few times a day until it becomes second nature.

2. Scope your clips before you climb.

Skipping a clip is dangerous. Skipping a clip and then down-climbing to get it is exhausting. To avoid both scenarios, stand at the bottom of the wall and give the route a full scan before you start climbing. Point to all the clips and scope out the best clipping holds. It takes a minute to do, but you’ll save a ton of time and energy on-route.

3. Clip at your hips.

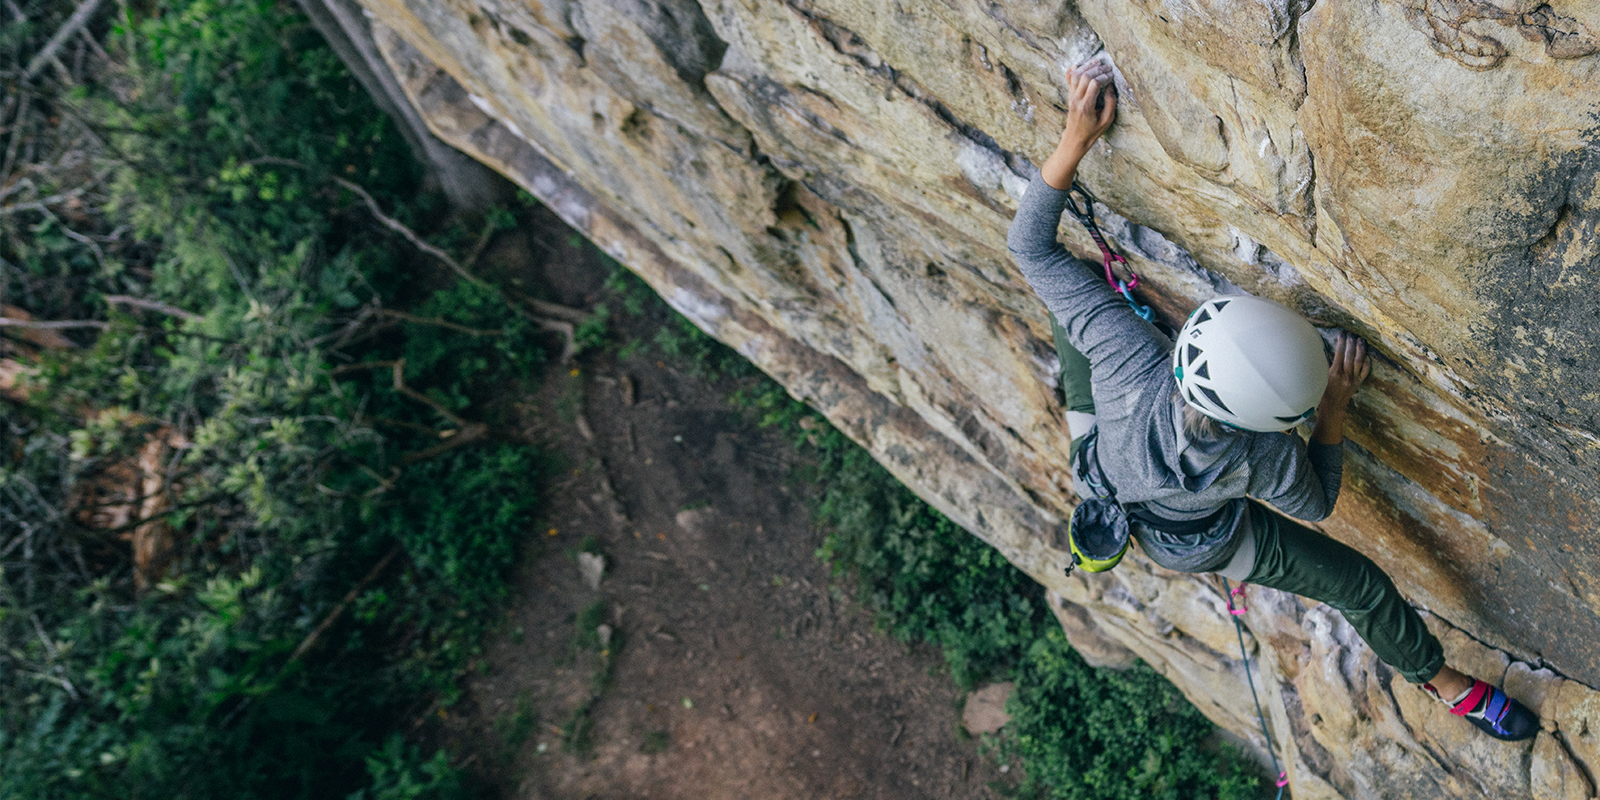
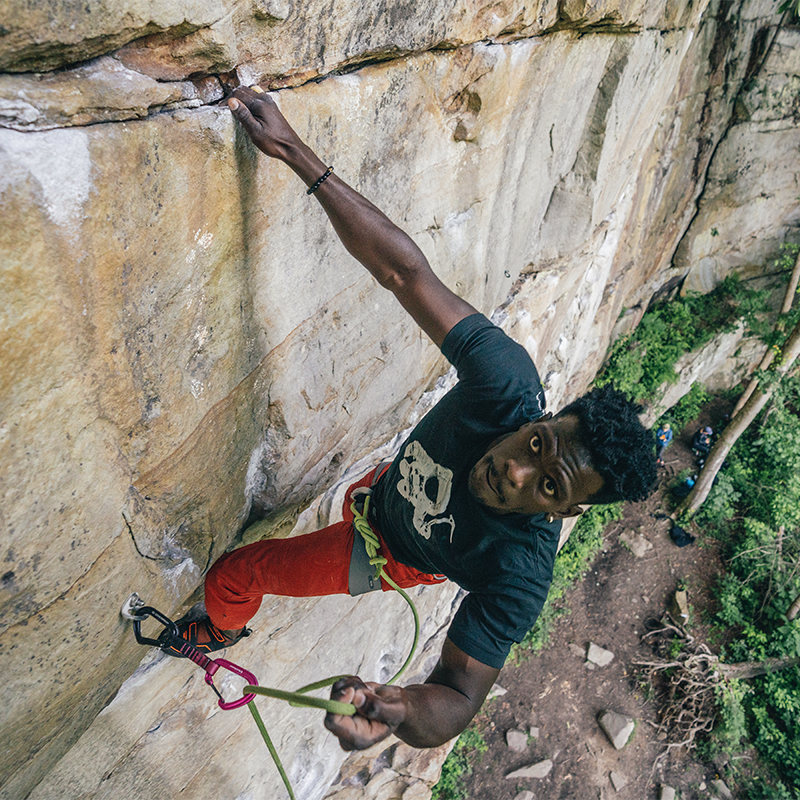
When you’re nervous about climbing above a draw, it can be tempting to pull up a big armful of rope and clip the next draw as soon as possible. However, making high clips takes a lot of energy. It also introduces more slack into the system. If you botch a high clip and fall with a big armful of slack out, you’ll plummet 5 to 10 feet farther than you would otherwise. Instead, climb until the draw is at your waist-level. Then clip it.

4. Mind your breathing.

The other reason leading is so tiring is that almost everyone over-grips when they’re scared. Instead, take a long, deep breath before clipping. If you’re white-knuckling the holds, ease up a bit. Then, make the clip, take another slow exhale, and sink into the holds to relax your body before moving up. 

5. Find the best stance.

You’re most vulnerable to a fall when you’re clipping. So, while you might be tired and a little nervous about being above your last draw, you’re actually safer if you take the time to scope out the biggest handholds and most stable clipping stance before you reach for the draw.

6. Reach and clip in one motion.

Before you make each clip, scope out your next handhold. Then, pull up slack, make the clip, and then keep reaching past it to your next hold in one fell swoop. If you need to shake out, shake out on the higher hold rather than moving backward. 

Leveling Up Your Gear  

When you start climbing outdoors and/or start leading harder routes, consider adding the following items to your kit:

How To Get Into Multi-Pitch Climbing

While many climbers happily stick to single-pitch sport routes after they learn to lead, others feel that multi-pitch climbing is the natural next step. Here’s how to get started. 

What is multi-pitch climbing?

A “pitch” of climbing is the distance you can go on a single rope length without stopping. In most cases, it’s about 60 to 120 feet of rock. A “multi-pitch” climb is any climb that’s so long that the only way to ascend it is by climbing multiple pitches stacked atop one another.

So, a 200-foot rock route might be split into two pitches. In between, you might have a bolted anchor (or at least a really good stance for building a trad anchor). This anchor-building spot (sometimes called a “belay stance” or simply “a belay”) is usually on a comfortable ledge where you and your partner can exchange gear and reorganize the rope for the second lead.

Traditionally, a multi-pitch climbing party will “swing leads,” or take turns. In other words, Climber A will lead the first pitch, then build an anchor at the midway point. Climber A then belays Climber B up to that anchor. Then, Climber B takes the gear, leads the second pitch and builds an anchor at the top of the climb. Climber B then belays Climber A up to that second anchor. Together, Climber A and Climber B then rappel the route (or walk off from the top if there’s a trail).   

Where to learn

Multi-pitch climbing is more complex and generally takes place in more remote terrain. For that reason, it’s best to learn from an experienced professional—consider booking a day with a certified local climbing guide. They’ll be able to assess your current proficiency level, teach you the basics of multi-pitch climbing, and give you solid advice on next steps.

If you don’t have a crag or a good guide service near you, give your local climbing gym a call. Many gyms with lead walls offer “learn to multi-pitch” classes, which cover rappelling, anchor building, and other key skills. 

Multi-pitch skills checklist 

Think you’re ready for multi-pitch climbing? First make sure you know how to do the following:  

All articles are for general informational purposes.  Each individual’s needs, preferences, goals and abilities may vary.  Be sure to obtain all appropriate training, expert supervision and/or medical advice before engaging in strenuous or potentially hazardous activity.

MORE STORIES